
Hi everyone and happy Wednesday! Maggi here today to share my favorite chipboard embellishment technique. I love Leaky Shed Studio's chipboard embellishments, they just add so much to a layout! Here I've added a couple of Leaky Shed keyholes and a key. I love how they add just the right touch of vintage to this layout.

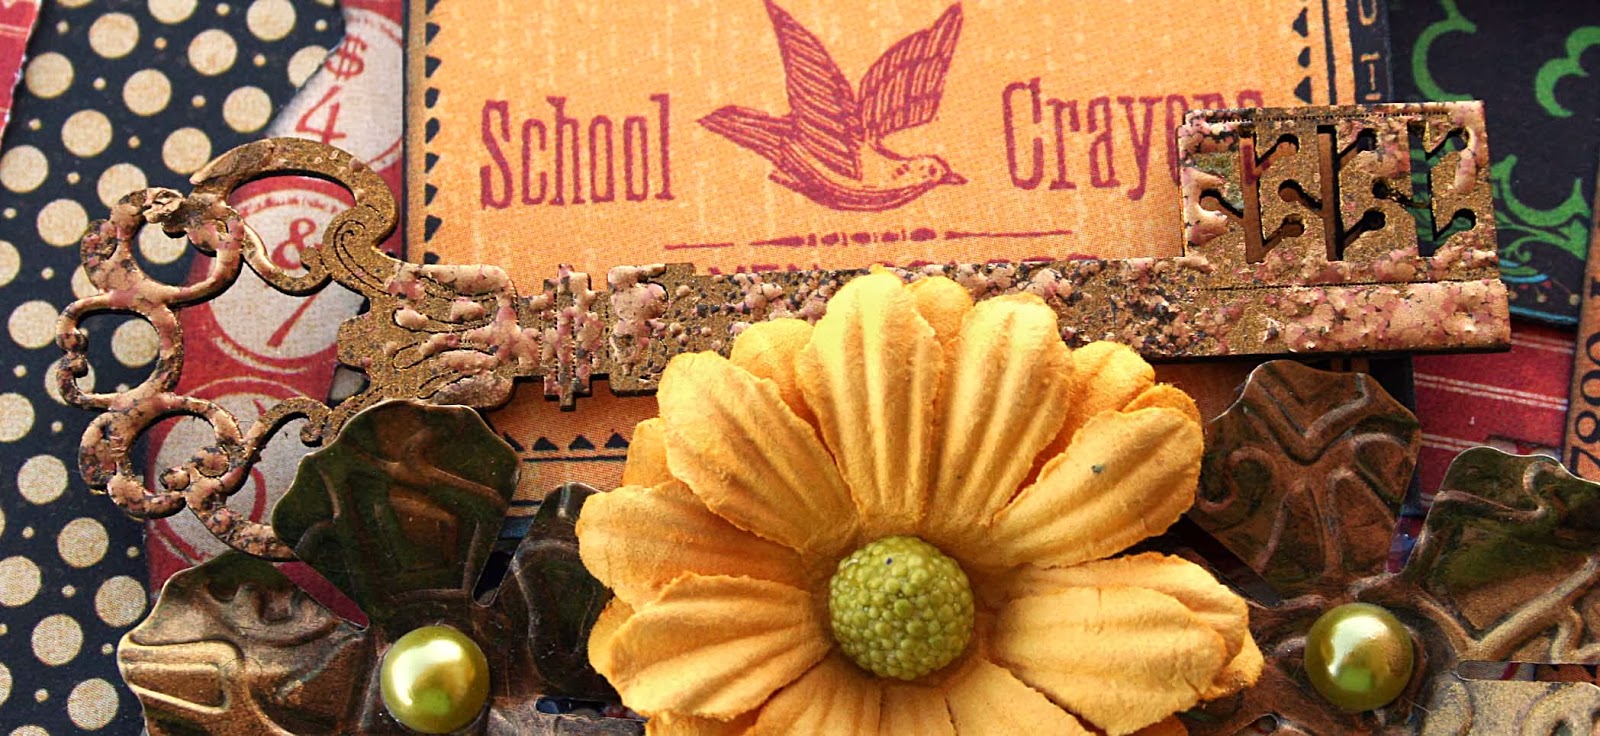
Notice how the keyhole looks pitted and tarnished. I achieved that look by first covering my chipboard with brass cream rubon. You could just as well paint the chippy too. Then I dabbed on a little embossing ink, (I use an embossing ink dabber from Stampendous rather than an ink pad), being careful not to cover the entire chipboard, then I sprinkled on Stampendous Aged Bronze embossing enamel. That is my go to enamel for chippies! I wanted to be sure and keep the detailed lines visible on the chipboard so I took a needle and drew it through the lines to clean out any embossing powder that had adhered to the grooves. You can also take a fine paint brush and sweep off some of the powder if you have too much. Now you are ready to heat set the powder and this is the result.


I just love the look on this key!
Supplies:
WRMK Lucky 8 Lace Kerchief
Thanks for stopping by my blog and I hope you'll become a follower of the Leaky Shed blog, we'll have lots of ideas for you there everyday!

I love the details on this! I'm not experienced with Chippies so you gave me some great ideas!
ReplyDeletePretty, vibrant framing.
ReplyDelete