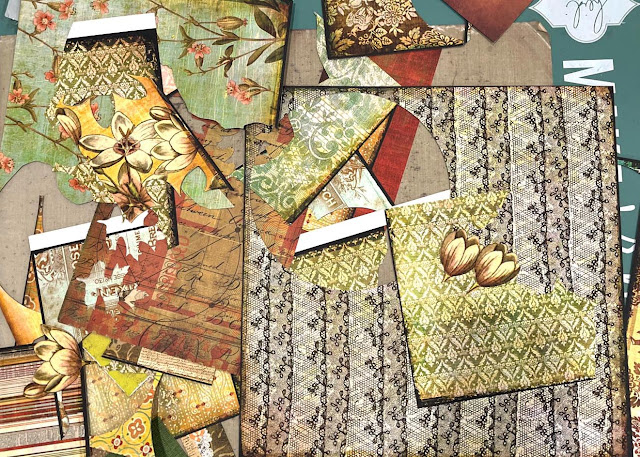
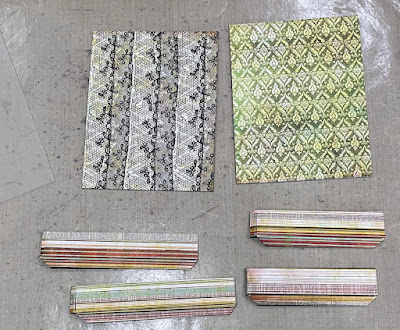
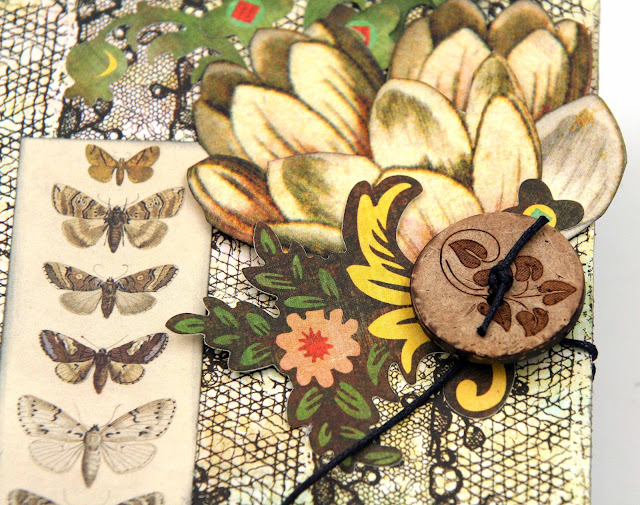
Scraps, lots of scraps and a couple of whole sheets. This collection dates back to 2010 and comes from a much loved vendor. Can you guess what it is?
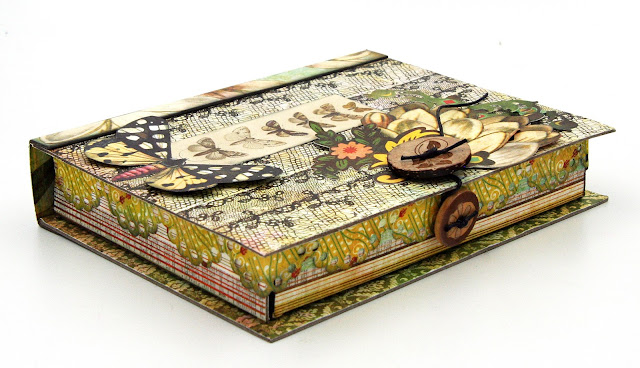
So gather up your scraps and let's mae a book box!
First you want to cover you mat board with paper and then die cut the box. You will need to cut 2 covers, 4 side walls, and the spine (not pictured). I like to use adhesive sheets to adhere my paper to the mat board and I find it works better to apply the adhesive to the paper rather than the mat board. In either case, you need to brayer the adhesive well onto the surface. My solution for easy brayering, is to run the paper with the adhesive sheet adhered through my die cut machine, lots easier than rubbing the heck out of that adhesive paper!
Next, assemble your box. You can see detailed assembly instructions in this video .

Now let's make a closure for the box. I decided to make a policy envelope style closure using two buttons. When finished the closure looks like this:
Begin by marking the center on the center sidewall and use your selected button as a template to mark placement of two holes. Then thread heavey string, wire, whatever you want to use through the two holes and then tie on a button. I used covered wire in this photo but changed it out for the heavy black string shown in the 2nd photo below.

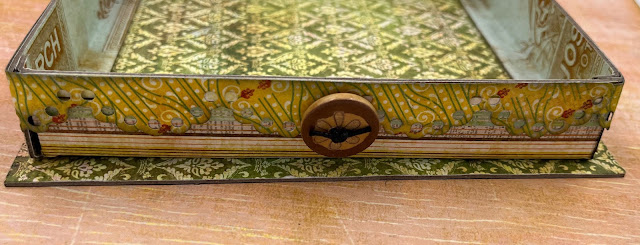
Next poke two holes in the lid, again using your chose button as a template and being sure to line up exactly with the button on the sidewall. Then tie the button on the lid.
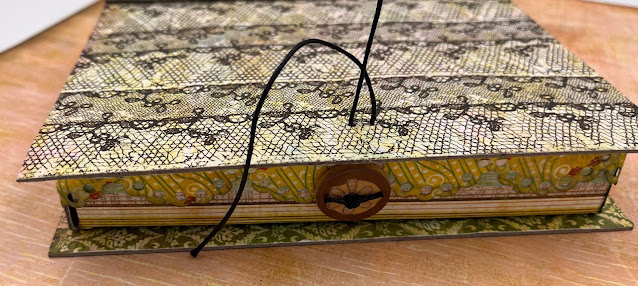
Now cut a length of string about 6" long and wrap one end around the button on the side wall. I first put a little glue under the button so that the string would stay attached.
Now you've got a closure! All you have to do is pull the string up from the wall and wrap it around the button on the lid. Simple, easy, and works great. I used a smaller button on the wall than on the lid.
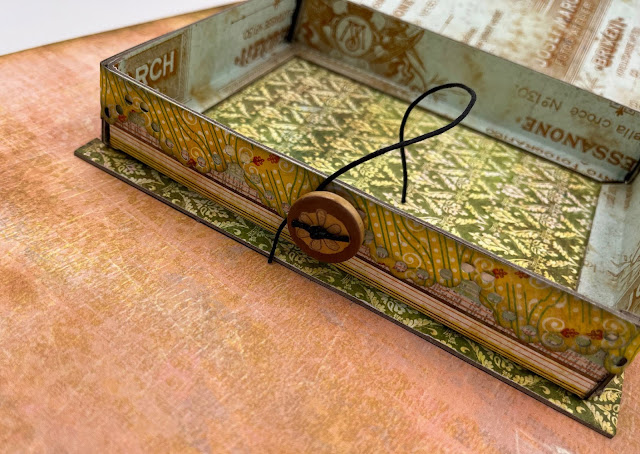
Inside the box I added a "floor" to give it a finished look. Just cut a piece of mat or chip board to fit inside, approximately 4 5/8" x 6", and cover with paper. (I like to use thin chipborad for this.) Put a bead of glue around the edges as shown below and place the floor inside. Make sure you do a test fit before you put the glue down.

Here's the finished inside.

Now it's time for you to get out some scraps and create! Be sure to post your creations on the Eileen Hull Fan Club Facebook page!


Eileen Hull Designs Sizzix Products
Have you figured out what papers I've used? It's from a much loved company that sadly no longer manufactures scrapbook paper. It's BasicGrey Curio.
Thanks for stopping by!
xoxo Maggi