I'm sharing some pretty cards today that I made using Eileen Hull's new Slimline Tickets Thinlits set.

These are simple and to make. Simple does not mean boring. These cards are jazzed up with a cool background layer that is a tear apart tickets that I just didn't tear them apart.
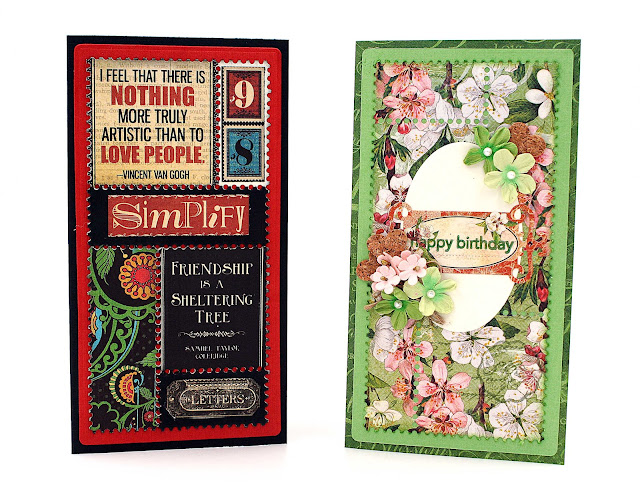
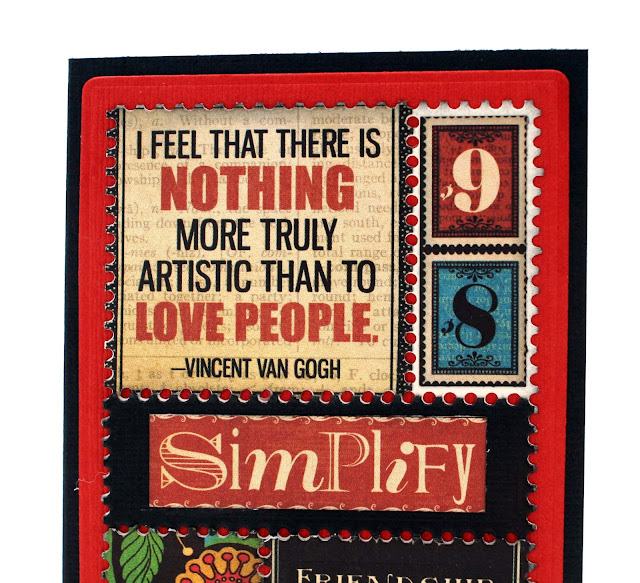
I started with a black card base topped with a red layer. Then I die-cut tear apart tickets from cream cardstock. Then I die-cut tickets from Graphic 45's Typography collection. (A very old collection, but my most favorite G45 collection ever!) I layered the diecut tickets on top of the cream cardstock, covering it for the most part. But, I needed that layer as a template for all my torn apart tickets. I think it makes a colorful and effective fun card for a friend.

You can see the cool effect of the tear apart tickets in this photo.
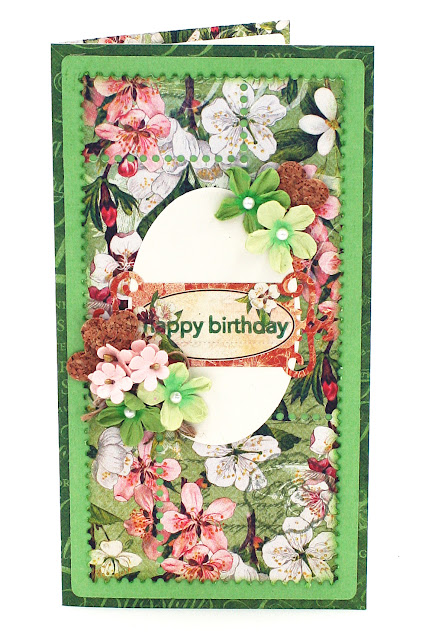
Here's another card again consisting of a dark green card base, green cardstock layer and topped with a panel of die-cut tickets from Graphic 45's Fruit & Flora collection.

Supplies - Eileen Hull
666277 Sizzix Thinlits Die Set 4 PK - Mini Slimline Tickets
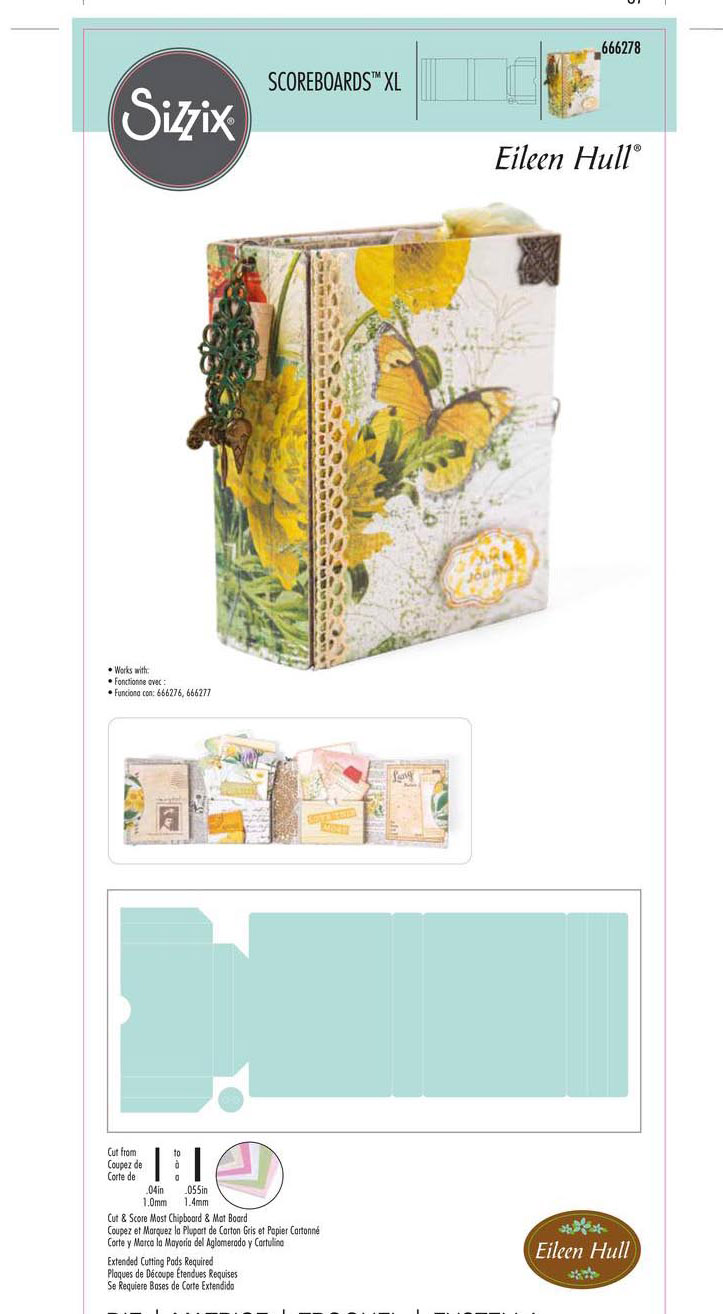
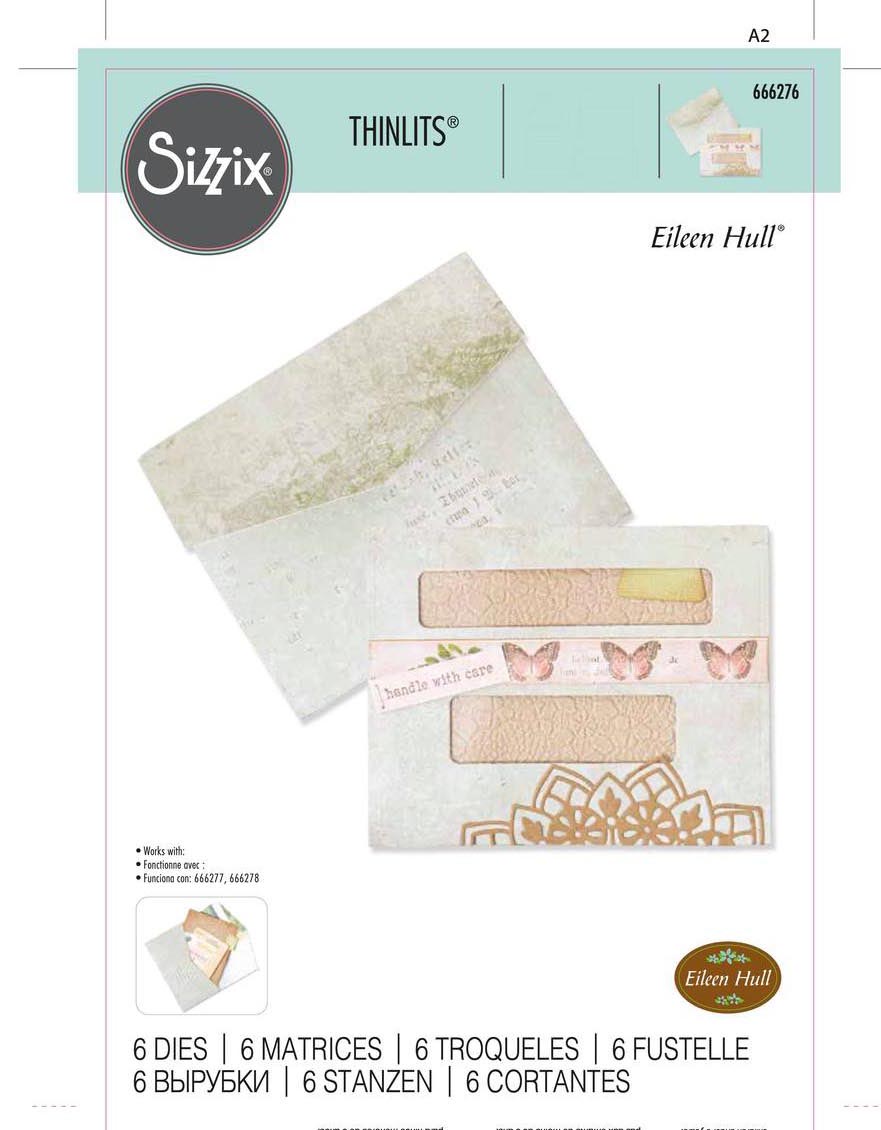
666276 Sizzix Thinlits Die Set 6 PK - Journaling Card, Envelope & Window
Thanks for visiting!
xoxo Maggi