
Thank you Card
I needed a thank you card the other day and I needed it fast so I quickly came up with this.

The key to this quick card is that I had some beautiful 2 sided paper (Graphic 45 Let it Bee Collection). The paper was 8" x 8" and I just folded it in half. Bam, it's a slim line card!

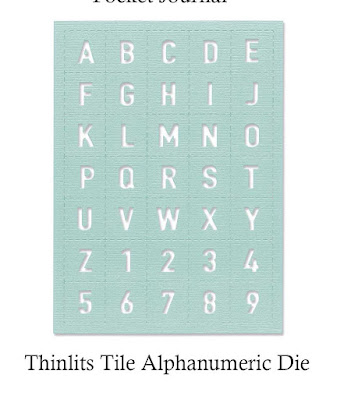
I quickly cut some letters with Eileen's new Alphanumeric die. I seriously love this die as it is so easy to cut the entire alphabet or cut individual letters. Why is it so easy you ask? Well it's one big plate at 5.75" x 7.75" AND you can use the negative of the letter because each letter is a tear apart section. I love it!!
So back to my quick card, I cut the letters and grabbed a scrap of embossed cardstock left from something else and lined up my letters. I find it much easier to line up my letters on a separate strip than directly onto a card. OMG, when I adhere directly, it's usually running uphill or downhill or maybe even both! I also started gluing the letters from the end beginning with the "U". That way I get proper spacing and I can lop off the other end to get whatever size I need.
Ok then, adhere that sentiment along the side of the card, glue some flowers on if you are so inclined. This card looked good either way but I just had to add a little something! 😄

Now that red inside was just too in my face red so I glued on some nice neutral cardstock; besides, I needed somewhere to write! Then a strip of design paper caught my eye so that went on the left side.

I thought a library pocket would be cute with a G45 journal card in it so I used Eileen's new Library Pocket die inside.

These are so quick and easy to make, just die-cut, glue each side of the pocket and that's it!

Supplies for this Card
Graphic 45 Let it Bee Paper Collection
Masculine Thank You Card
I love Sizzix's Cork Roll Surfacez and I'm amazed at all the things I've been able to do with it. Today I decided to try it as a card base.

In this photo I've adhered the carstock to the backside of the cork paper. You can see the cork peeking out on the sides. Now I just cut this assembly to the size I want, score and there I have my card base. Doing i this way ensures that the cardstock and cork are perfectly aligned.

I adhered an embossed panel that I made with Eileen's newest 3D Embossing Folder, Tablecloth. After embossing, I lightly went over the embossing with silver Sizzix Lustre Wax to bring out the beautiful embossed details. For added interest I clipped the corners with We R Memory Keepers Corner Chomper.

At the top I added a strip with Thank You cut with the Alphanumeric Die and a metal xoxo charm. At the bottom some paper lace fussy cut along with some tiny flowers.

Supplies for this Card
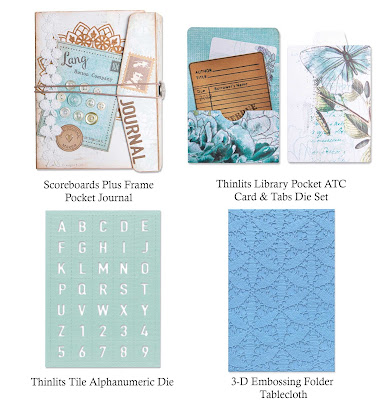
2023 Chapter 1 Release for Eileen Hull Designs by Sizzix
That's all for today but I have lots of projects to share with you using Eileen's newly released Sizzix products. Be sure to stop by Eileen's blog to see inspiration from all the design team.
xoxo Maggi

so beautiful Maggi!
ReplyDelete