

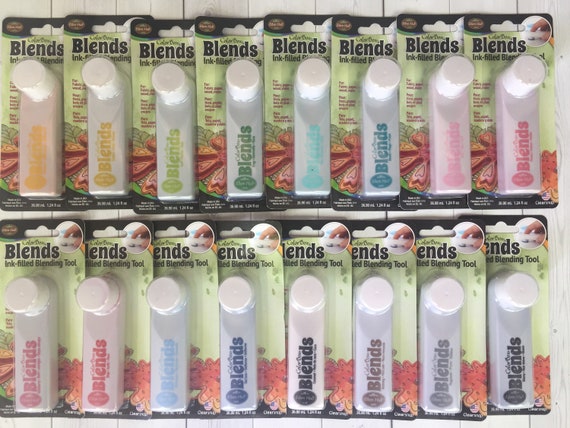
Have you seen Eileen's new ColorBox Blends Inks by Clearsnap? They are so unique as they are an inker, applicator and re-inker all in one and they come in 16 colors.
The Journal


Inside the cover and for the signatures, I used papers from Stamperia's Wonderland collection.

There are 4 signatures - these are what the interior booklets are called. I used dies from Eileen's newest BookClub 2 collection that includes the Wrapped Journal as well as from her original BookClub collection to cut tags and flowers to use on the signatures.

One of my favorite dies from the new Book Club 2 collection is the Credit Card Sleeve and Tags. This die set makes to neatest pocket that is just perfect for holding gift cards and little notes.

Tutorial
Diecut a Wrapped Journal from white mat board. Tape the covers together with removable tape so that the covers align properly. Then mark the placement of the brads on the two covers. (You can do this after inking, but be sure you attach them before adding paper on the inside, otherwise the brad backs will show.)
Use ColorBox Blends to completely ink both the inside and outside covers. The Blends stay wet long enough that you can easily blend your colors. I used Bay, Beach and Leaf on my covers.
Tip: When your Blends are new, you will need to press the pads down on a scrap piece of paper to get the ink flowing and to fill the inkpad with ink.

After the inks have dried you can add design paper inside and outside if you like. I used some great Steampunk stamps from Stamperia to stamp images on my covers (4) but decided the one on the front cover looked to dark, so I stamped it again on white paper and fussy cut it out and glued to the cover. I liked that much better (5)! I also blended in a little Tutu pink ink to bring the cover and design paper together.
(6) I added some flowers and clock charms to gussy up the cover.

I added design paper to the inside right cover and stamped that with another image from the same stamp set.

Eileen Hull Designs by Sizzix Products:
Other Supplies:
ColorBox Blends by Eileen Hull - Nutmeg, Leaf, Bay, Beach, Tutu
Stamperia High Definition Stamps
That's it for today, time to make something else! Happy crafting.
Maggi

It's lovely, beautiful colours and lovely inserts. I have to agree that the credit card sleeve is a brilliant die set. I couldn't wait for people to get it into their shops in the UK and bought it from the US. I love Eileen Hulls inls and I wish someone would stock them in the UK.
ReplyDeleteThanks so much Thelma for the kind comment!
DeleteGorgeous Maggi, lovely blend of colours. Gorgeous dragonfly and layered elements. Travy ❤️❤️
ReplyDeleteOh Maggi this is marvellous! LOVE that deep pop of blue framing the papers so well and your clever choice of stamping xx
ReplyDeleteYOu are too kind! If I could achieve the results that you do with stamps and ink, I would be a happy girl! Thanks so much Jenny!
DeleteI love how you used the papers to coordinate the inked background Maggi- this book is just gorgeous! You have such a way with pockets and tucks ❤️ Great tutorial- thanks!
ReplyDeleteThanks Eileen and thanks for designing this fabulous journal!
DeleteDarling! Love the way you chose to "gussy up" the cover! Adding Tutu was subtle and perfect!
ReplyDeleteThanks so much Susie!
Delete