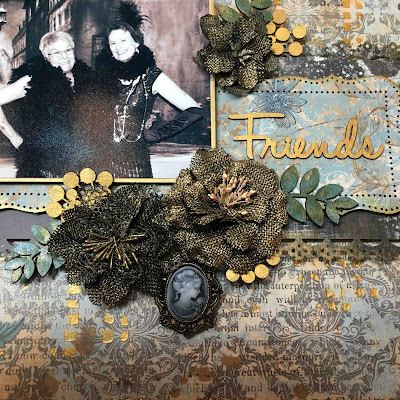
Sometimes I just get a little crazy with the metallic colors and today was one of those days. I just thought these Ridersholm papers from the Flying Unicorn Store would look great with lots of gold accents. Scroll down for a tutorial to build this page.
TUTORIAL
Step 1:
I'm using Ridersholm's Tailgate Marked collection and this page is called Poppy. It will be the base layer of the layout.
Step 2 - cut layers:
- Cut a mat for your photo from Woodland sized slightly larger than your photo.
- Cut a rectangle 5 x 12" from Farfalla.
- Cut a rectangle 3.25 x 10.25" from Woodland
Step 3 - Prepare chipboard:
I've taken Creative Embellishments Berries and cut the berries and branches apart making 3 pieces from each piece of chipboard.
- Paint the berries with gold paint. I used Silks Emperor's Gold
- Stain the branches with mist. I first dabbed on Lindy's Frost Forest Green which is a great color that goes well with this paper. After that dried I dabbed on a bit of Lindy's Gator Gumbo Olive which added gold sparkle to my branches. You can achieve a similar effect with water colors or other paints/mists. Just look for two colors that are similar to what I've used.
- Ignore the doily in the photo, I decided not to use it.
Step 4 - embossing the edges:
Now dab on a little embossing ink randomly around the edge of the page. Then sprinkle on Stampendous Aged Gold Embossing Enamel or something similar, and heat. It is better to do smaller portions of the edge at a time so that you don't get embossing powder everywhere!
After you've done all the edges, it should look something like this:
Step 5 - prepare the flowers:
I've sprayed Petaloo Black Burlap Blossoms and sprayed them lightly with Prima Empress Gold mist. This softens the black color and adds a really pretty metallic gold cast to them.
Step 6 - prepare the layers:
Cut cardboard to fit under both of the layers and glue to the back of each piece. You could also use foam tape.
Adhere and center the smaller rectangle on top.
Step 7 - Assembly:
- Adhere the layers to the base page about 4" from the top.
- Chose a title and adhere on the right side of the popped up layers as shown in the below photo. I've used a Creative Embellishments word chippy painted with Silks Emperor's Gold.
- I decided to pop up my photo too so put either cardboard or foam tape underneath that. You will need to put two layers of cardboard at the top of the photo where it hangs off the layered rectangles.
Step 8 - the fun part!
Now its time to add your flowers and embellishments. Add the flowers as shown on the right building a cluster on the right bottom of the photo and right side. Tuck in the gold painted berries and the branches. I also tucked in a cameo from my stash.
You may need to add a little piece of cardboard to your flower, especially for the flowers at the top of the photo because of all the popped up layers.
Floral cluster at the left top of the photo.
And that's it, all finished! I love the rich gold look of this page, I think it makes it look antique to go along with the vintage look of the photo. The photo is not really vintage, it's me and a friend dressed up in flapper clothes while on a cruise with Graphic 45.
I love how the gold mist looks on the black flowers.
Supplies - links are to the Flying Unicorn Store:
Poppy
Farfalla
Woodland
Other:
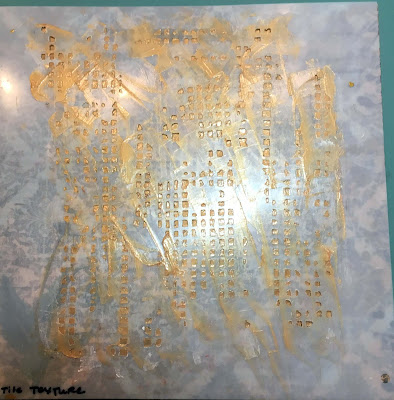
TCW Tile Texture mask - use any texture mask
Studio 490 Metallic Gold embossing paste
StazOn Gold Metallic ink
Martha Stewart punch around the page punches - Cherish, Deco Flower
Creative Embellishments Friends Word Set
Lindy's Starburst Mists: Gator Gumbo Olive, Frost Forest Green
Stampendous Aged Gold Embossing Enamel
Thanks so much for stopping by today.


Oh not sure how I missed this layout but I just love it - great photo and step-by-step too
ReplyDelete