

49 and Market Vintage Artistry Paper Collection
49 and Market Rustic Barn Medium Blooms
49 and Market Rustic Barn Small Blooms
Prima 6 x 6 Collection Kit Vintage Emporium
Prima Stencil 960155
Prima Color Bloom Tea Stain
Prima Paint Art Alchemy 963057
Prima Cork Stickers 576189
May Arts ribbon
Prima Wood Veneers
Other supplies:
Petaloo Darjeeling blooms
Lindy's Gator Gumbo Olive mist
Don't feel like you have to use exactly what I've used, change it up and use what you have on hand if you don't have all these supplies.
Step 1
I like to assemble all my pieces and take care of all the little things before I put a layout together. With that in mind, I am starting with the chipboard frame and title. I've used the smaller corners included in Creative Embellishments Page Corners Set 3 and the word Friends from the Friends Word Set. I made quick work of this by simply misting the chipboard and allowing it to dry while I worked on some of the other layout components.

Step 2
These are chipboard fern pieces and I colored them with Lindy's Gator Gumbo Olive.

Step 3
I fussy cut these ferns and the butterfly from the Vintage Artistry Flora and Fauna Cut Out Sheet.
Step 4
Locate the 6 x 6 sheet shown on the left below in the 6 x 6 Vintage Emporium paper pad and tear around the edges.
Cut the piece out on the right from the Vintage Artistry Ephemera Cut Out Sheet.
Distress and ink the edges as desired.

Step 5
Cut the piece out on the left from the Vintage Artistry Ephemera Cut Out Sheet.
Locate the two tags in the kit. Thread some twine thru a couple of buttons and adhere to the tags.
Distress and ink the edges as desired.

Step 6
Tear the paper,Vintage Artistry Specimen, in a manner similar to that shown below. Set the top piece aside for another use.
Step 7

Step 8
Cut the Vintage Artistry paper The Report diagonally so that it and the torn piece from Step 6 for a 12 x 12 sheet.

Step 9
Glue the two pieces of paper together, on the sides leaving the middle part unglued so that you can tuck some layers under the torn sheet. Distress and ink the edges as desired.

Step 10
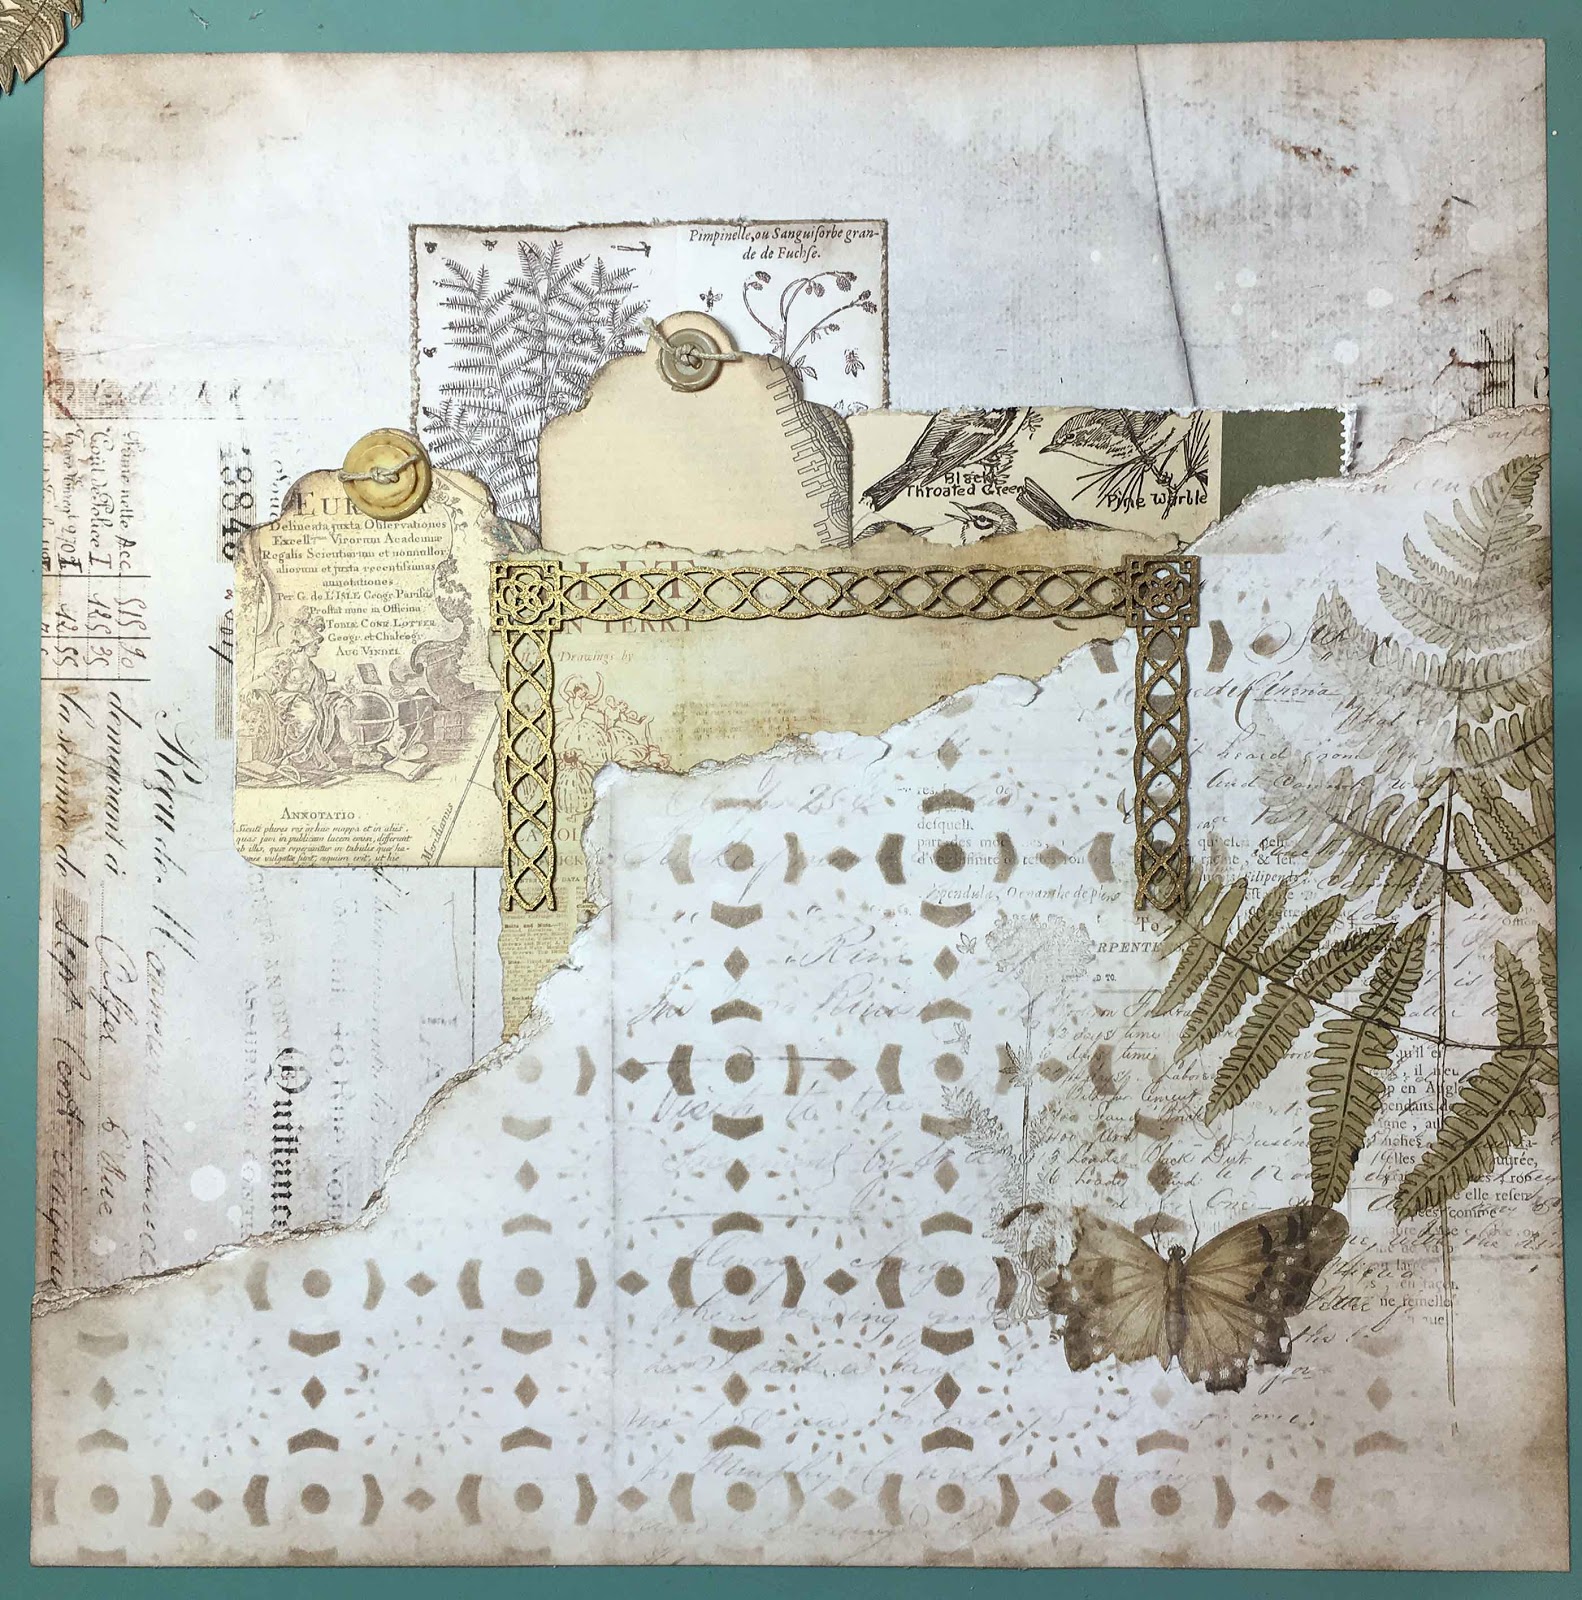
Add some stenciling to the bottom using the stencil in the kit and Distress Ink in Pumice.

Step 11
Adhere the small piece shown on the left about 1 1/2" from the top and 3" from the left side. Ad the piece with the birds on it about 3" from the top and 1 1/2" from the right side tucking it under the torn piece as shown.
Step 12
Add one of the tags as shown below, about 3" from the top and 1 1/2" from the left side.

Step 13
Now find the placement of the larger rectangle, about 4" from the top and 3 1/2" from the left side. You can either tuck this piece under the large torn piece or layer it over top. I tucked it under but you know, I think I meant to layer it on top! Don't adhere this piece just yet, just mark it's placement. Tuck the 2nd tag underneath.

Now lift the rectangle and 2nd tag and turn them over. We're going to make a hidden tag pocket.

Step 15
Use double sided tape to make a pocket for the tag to slip into. Then glue the rectangle in place and slip the tag into the pocket.

Step 16
Now glue the two chipboard page corners onto the layout as shown.
Now add your photo.

Glue the fussy cut ferns on the left side as shown. Use foam tape to pop them up. Glue the title chippy in place as shown.

Add two of the chipboard ferns on the right as shown. Layer the 3rd fern piece over the fussy cut ferns. Tuck in the little wooden veneer leafy branch.

Step 20
Now comes my favorite part! Add your flowers in a pleasing manner. Tuck in some of the cork stickers and add a couple of butterflies. Tie a bow and tuck under your flower on the left.

Flower and bow detail.


No comments:
Post a Comment
Thank you for leaving a comment. Your feedback is important to me! I'm always happy to answer questions, just leave them in the comments section and I will respond either here or leave me your email address.