
I've done several layouts celebrating my parent's 70th wedding anniversary but this is my favorite. My Mom looks so pretty, Dad not so much, LOL, but this layout is all about Mom. She sure looks good at 91 1/2 years don't you think?

Tutorial:
1. Cut out the following pieces:
frame & 9" blue circle - Sweet Sentiments 4500800
fussy cut cupid - Sweet Sentiments 4500800
6" circle - Be My Valentine 4500802
Spellbinders square fleur de lis frame - Bazzill Peach Glow
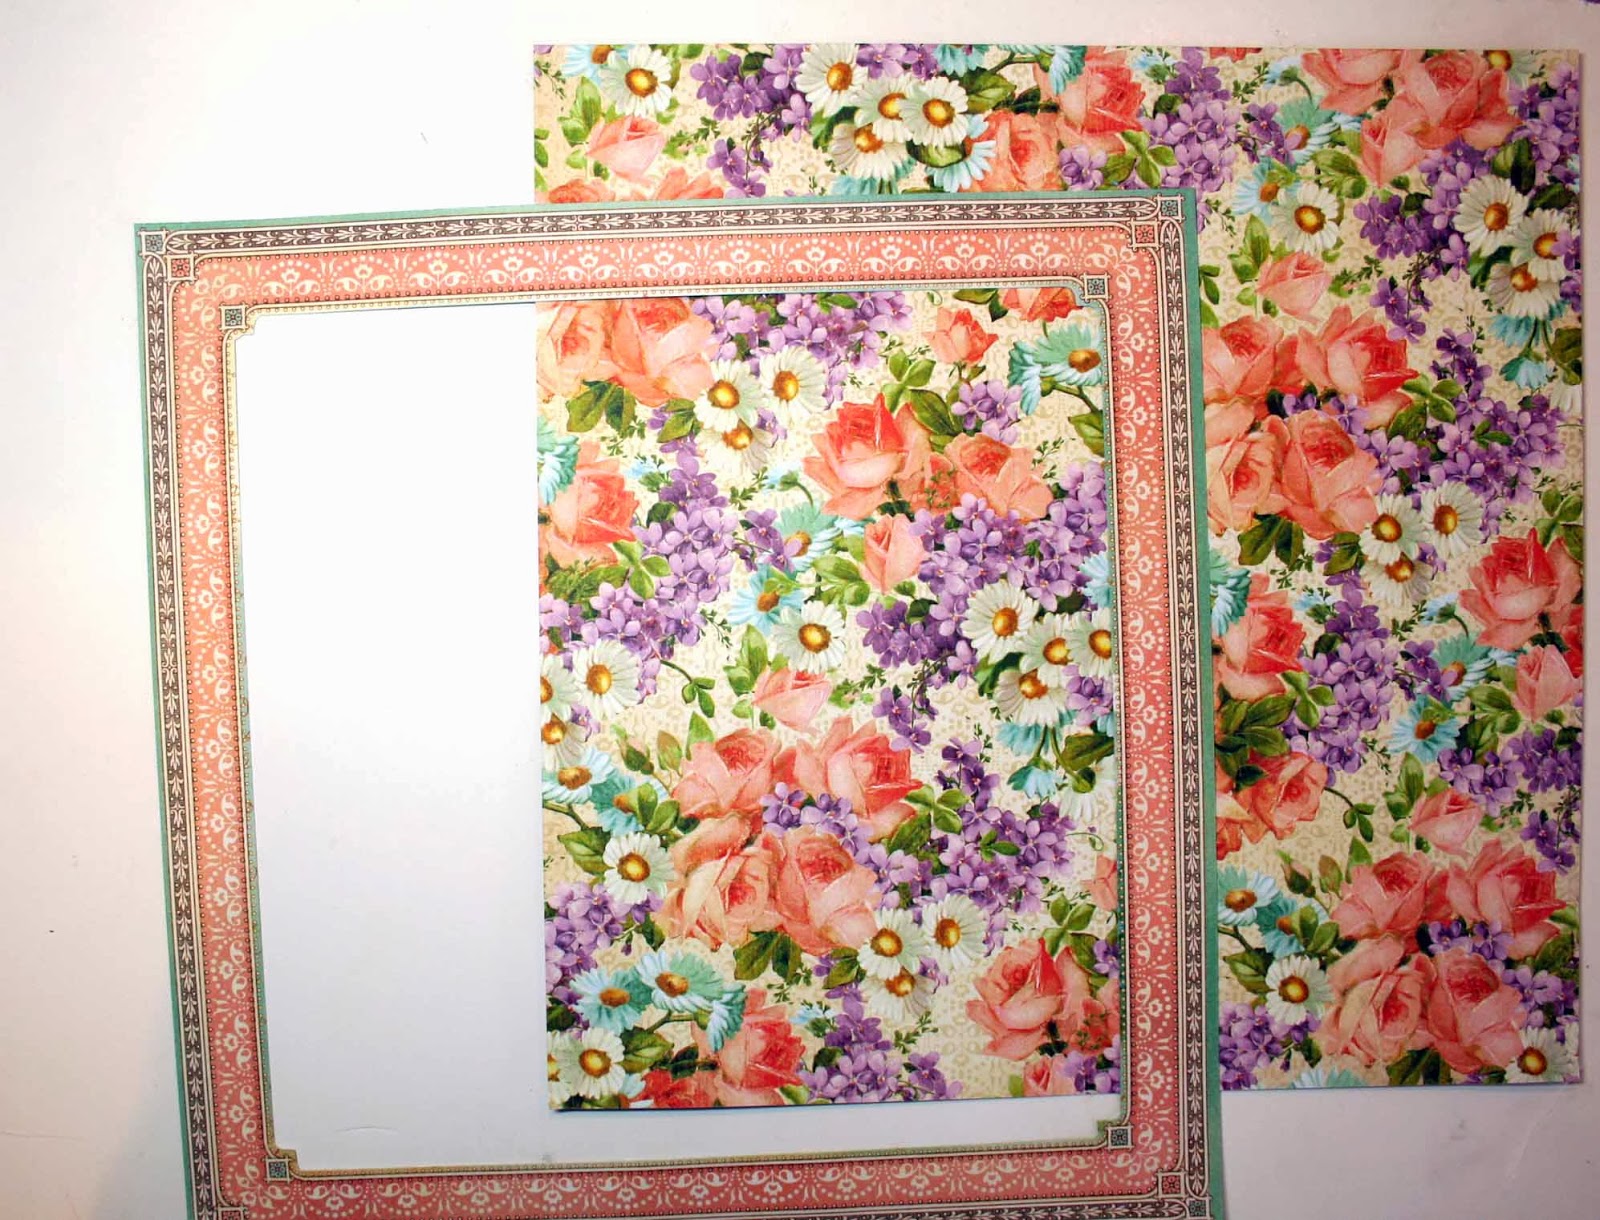
Cut apart floral bouquet - Be My Valentine 4500802
Blue stripe mat for cut apart - All My Love 4500803
2. Use a Martha Stewart corner punch to punch around the edges of the two circles. I used Scallop 3 Dot to punch the large circle and Deco Fan to punch the small circle.
Ink all the papers with Mix'd Media Inx in Peaches and Peridot

3. Cut the blue mat to place under the floral cut apart just slightly larger that the cut apart card, about 2 1/8" x 3 1/8". Pop up the cut-apart card before mounting on the striped mat.

4. Use foam tape, squares, pop dots or cardboard to pop up the Spellbinders frame and the fussy cut cupid.

5. Now we have most of our parts assembled, lets put it all together now. Start by adherring the frame to the base paper, Perfect Petals 4500801. Then adhere the large circle on the left side overlaping the frame on the side.

6. Now adhere the 8" doily on the right side overlapping the frame on the right and the bottom. Next adhere the matted floral cut-apart just below the frame on the right. Leave 1/4" between the frame and the blue striped mat. Then position the cupid and adhere.

7. Pop up the photo and position on the Spellbinders Fleur de lis diecut and then position that over the small circle and adhere about 5" from the top of the page and about 3" from the right side. Pop up the title tag "Celebrate" and adhere beneath the photo.
8. On the right side I've added a tag from Tags and Pockets 4500810 on which I've mounted a tiny photo of the sign in front of their church. Add your flowers and that's all there is to it!

Here's the finished layout, you might notice that I changed the flowers around a little bit!


Supplies list:
Bazzill Peach Glow cardstock
Graphic
45 Sweet Sentiments collection:
frame
and blue circle - Sweet Sentiments 4500800
floral print - Perfect Petals
4500801
pink pattern & cut apart - Be My Valentine - 4500802
blue stripe
- All my Love 4500803
Tags and Pockets - 4500810
Spellbinders
fleur de lis square frame
Martha Stewart corner punches: Scallop 3 Dot, Deco Fan
Petaloo
Mixed Textured Blossoms Apricot & Teal
Ink: Mix'd Media Inx
Peaches & Peridot
8" Doily

Your are so good at instructions. This is my fav page from you
ReplyDelete