
The Funkie Junkie Design Team has a special post for our regular Showcase Saturday series. Sll og us have created a special tag and tutorial for you showcasing some of our favorite Funkie Junkie items. Stop by The Funkie Junkie Boutique Blog to see all the DT tags.

How to Make a Tag with Less Than Perfect Papers!
It's not that the papers aren't perfect, it's that I can't bear to throw a scrap away and this is how I use them.
- Use a Graphic 45 large ivory tag or recycle a large packaging tag as I did. Sometimes the edging on the recycled tags looks fine but in this instance, I didn't like the look, so I just painted around the edge.
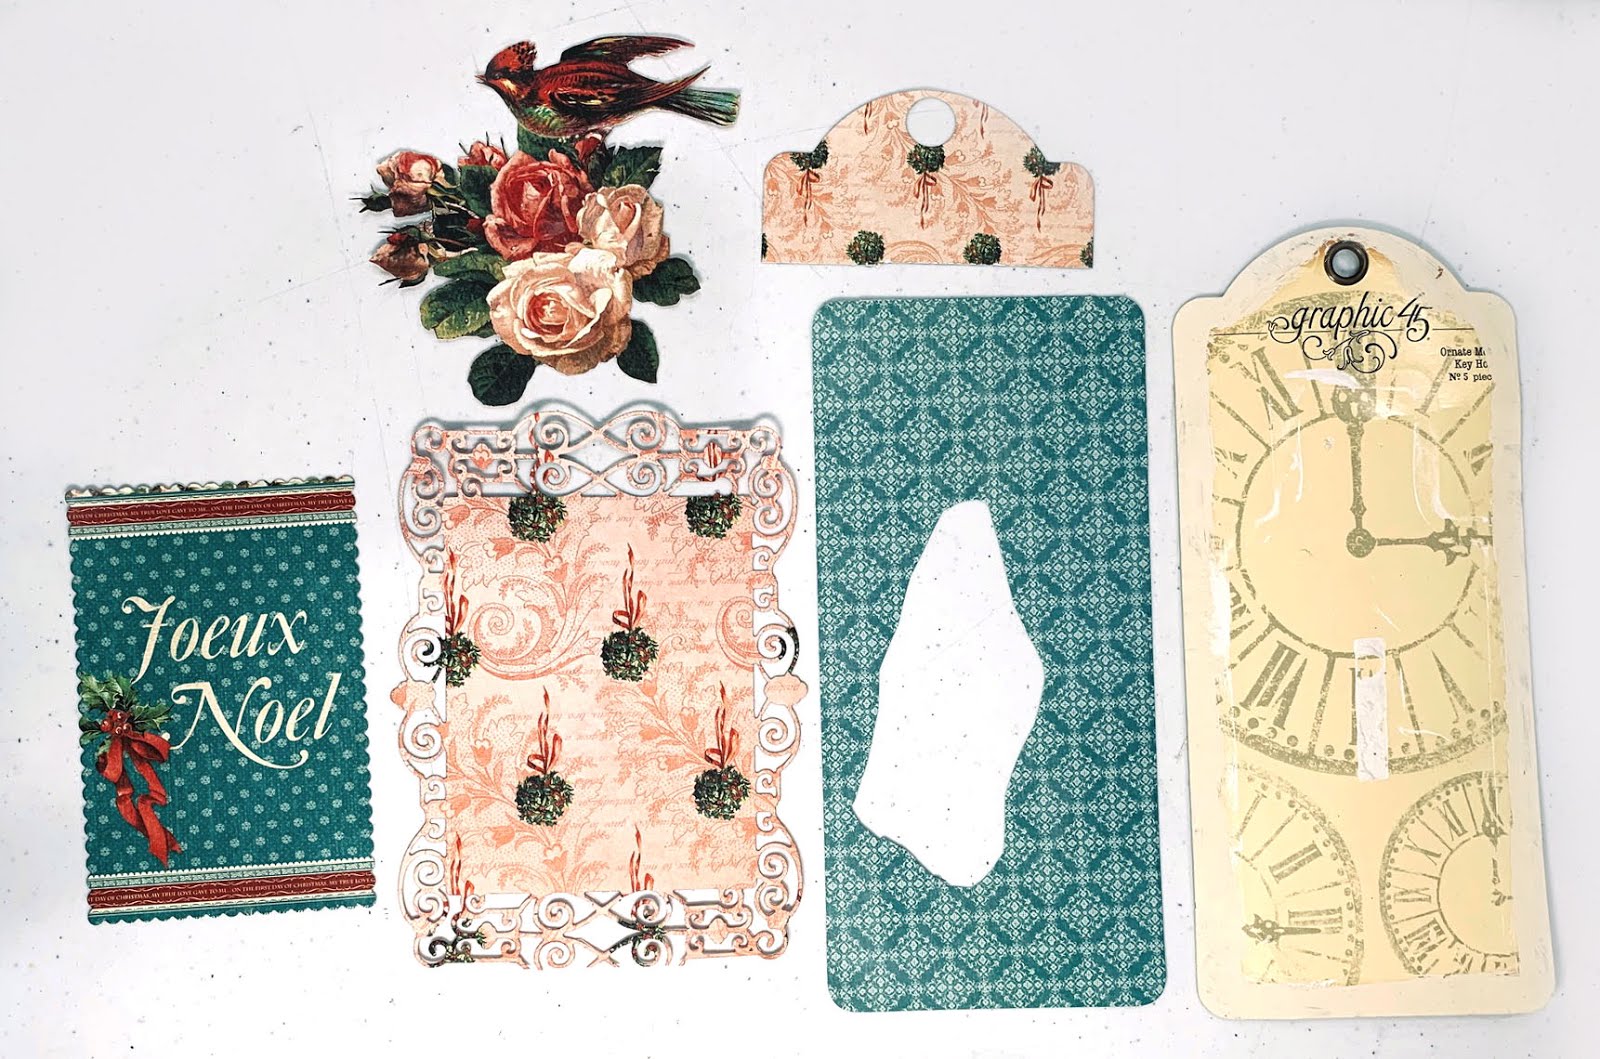
Assemble the pieces shown in the photo below:
- Trim a cut-apart to about 3 1/8" x 4 3/4". (I used a scalloped die to cut mine).
- Die-cut a frame that is approximately 4 1/2" x 6".
- Fussy cut a bird and roses cluster as shown.
- Use the Graphic 45 large tag die to cut a base for the tag. Notice that my blue base has a hole in it and the top is missing. Yep, I utilize EVERY scrap of paper. The center is going to be covered so who cares if there's a hole in the middle. And, my paper scrap wasn't long enough to cut the entire tag. Soooo, no problem, I used the tag die to just cut the top portion and covered my tag with the two pieces. (see the 2nd photo.)
2. Assemble the tag -
- Glue a strip of beads at the bottom of the tag.
- Then cover the base with the blue patterned paper and the separate pink top.
- Pop up the die-cut frame and adhere about 1 1/2" from the bottom. Yes, I know the paper is upside down, but the die-cut at the bottom is a little messed up and that's not a problem because the bottom will be covered. No one will notice that the paper is upside down after its all finished.

- Pop up the Joeux Noel cut-apart and adhere over the center of the frame.
- Pop up the fussy cut bird and place over the right side of the tag as shown in the photo. Add some pretty flowers and a bow at the top.
- Tie a pretty Christmas tree charm to the bow.

Supplies from The Funkie Junkie Boutique
Burlap String - 12 Colors
Spellbinders Romantic Rose Spellbinders Romantic Rose (very similar to the frame die I used)

I love this!!! I have used up my leftovers before by layering and love that you reminded me of this and in a gorgeous tag! Beautiful holiday tag and wonderful tutorial! Have a very happy holidays with your loved ones and a blessed New Year!
ReplyDeleteThis is such an elegant tag and uses those leftover bits and pieces of paper to their best advantage. Wishing a Merry Christmas and a Happy New Year.
ReplyDeleteHugs!
Cec
Yep, I love using up my scraps as well. Maggie, do you happen to have a tutorial as to how you tied that fabulous bow that looks like it also came through the top hole somehow?
ReplyDeleteMy little secret, :-) most of the time, I hot glue my bows onto my tags and if I need a string thru the tag, I thread one through before I hot glue the bow. I use a Zutter bow-it-all to make my bows and you can find some great bow making videos by looking for Bonnie Garby of Really Reasonable Ribbon on youTube. Occasionally, I actually do tie the bow onto the tag and when I do that, I form loops with a piece of ribbon and then with a separate piece of ribbon, I lash the looped ribbon onto the tag forming a bow. I hope that makes sense, not sure how to explain it.
DeleteThanks so much Maggie, you explained it just fine!
DeleteMaggi, your leftovers turned into this fabulous Christmas 'dish'! I just love using bits and pieces that others might regard as trash and making them into something beautiful, and you have done just that with these scraps of gorgeous papers. I adore the bird/rose image, and the flowers and bow really bring this together so nicely. Great tutorial, too! Merry Christmas to you and your family!
ReplyDeleteGreat layering! Such fabulous tag from scraps!Love it!
ReplyDeleteNot a scrap wasted - I love this tag Maggi! No one would ever know that you cut around and covered the less than perfect bits to create a beautiful, perfect tag for the holidays. Thank you for sharing so many fabulous tips. Happy holidays! xx
ReplyDelete