Pages

Tuesday, May 31, 2022

Using Scraps to Make Eileen Hull's Book Box!

Our June theme at Eileen Hull Designs is Leftover Love (use scraps, up-cyle, recyle, reuse etc) so I pulled out some really old paperscraps and used the Book Box die to make this cute little box.


Scraps, lots of scraps and a couple of whole sheets.  This collection dates back to 2010 and comes from a much loved vendor.  Can you guess what it is?

So gather up your scraps and let's mae a book box!
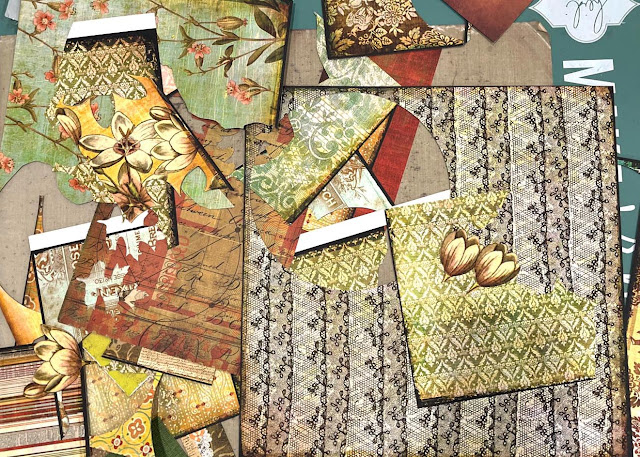


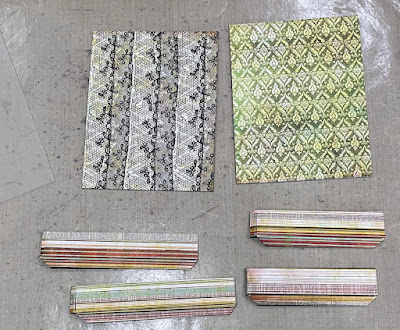
First you want to cover you mat board with paper and then die cut the box. You will need to cut 2 covers, 4 side walls, and the spine (not pictured).  I like to use adhesive sheets to adhere my paper to the mat board and I find it works better to apply the adhesive to the paper rather than the mat board.  In either case, you need to brayer the adhesive well onto the surface.  My solution for easy brayering, is to run the paper with the adhesive sheet adhered through my die cut machine, lots easier than rubbing the heck out of that adhesive paper!


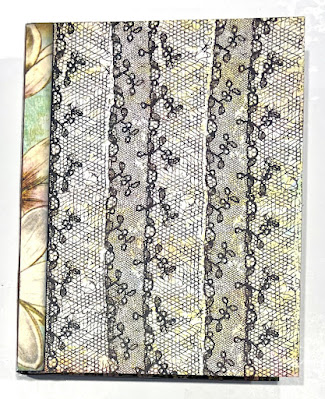
Next, assemble your box. You can see detailed assembly instructions in this video .


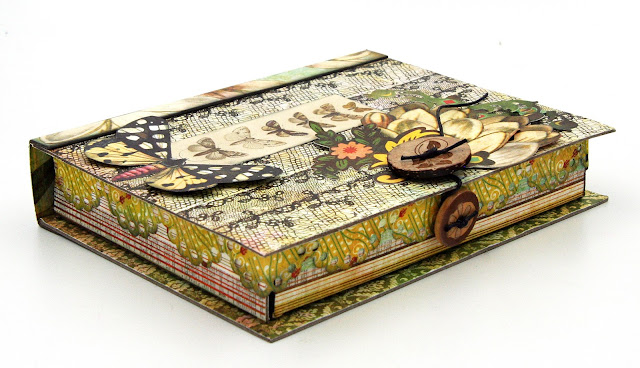
Now let's make a closure for the box.  I decided to make a policy envelope style closure using two buttons.  When finished the closure looks like this:

Begin by marking the center on the center sidewall and use your selected button as a template to mark placement of two holes.  Then thread heavey string, wire, whatever you want to use through the two holes and then tie on a button.  I used covered wire in this photo but changed it out for the heavy black string shown in the 2nd photo below.

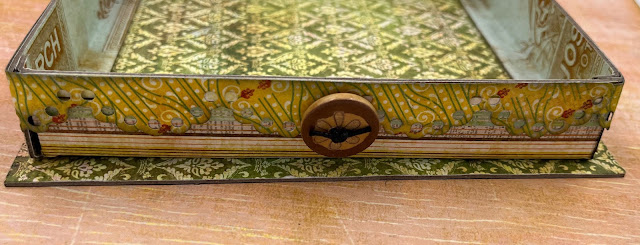


Next poke two holes in the lid, again using your chose button as a template and being sure to line up exactly with the button on the sidewall.  Then tie the button on the lid.
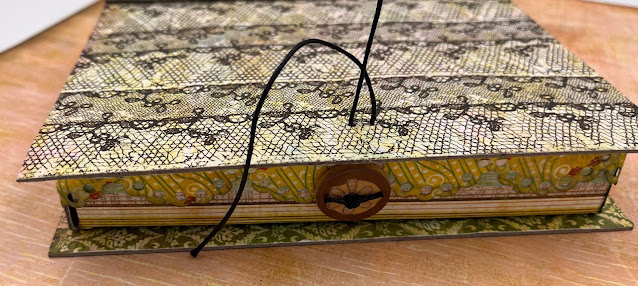


Now cut a length of string about 6" long and wrap one end around the button on the side wall.  I first put a little glue under the button so that the string would stay attached.
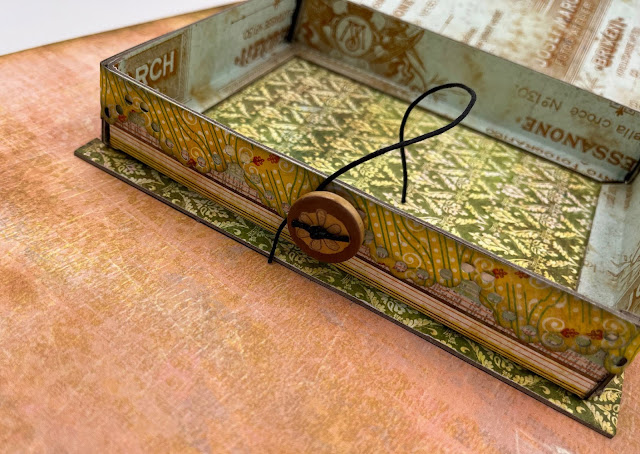


Now you've got a closure!  All you have to do is pull the string up from the wall and wrap it around the button on the lid. Simple, easy, and works great. I used a smaller button on the wall than on the lid.
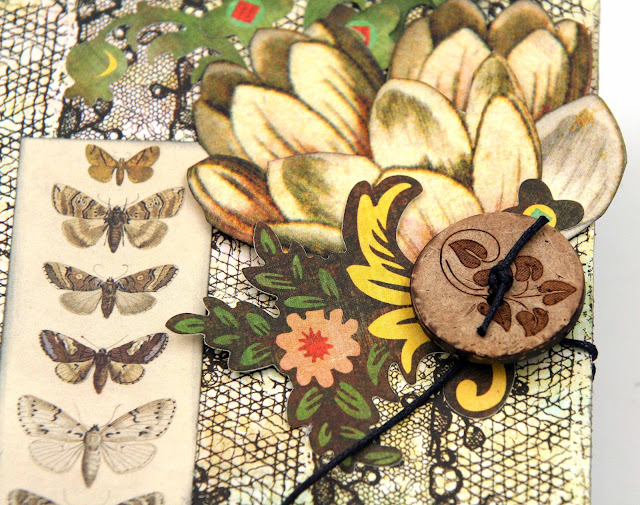


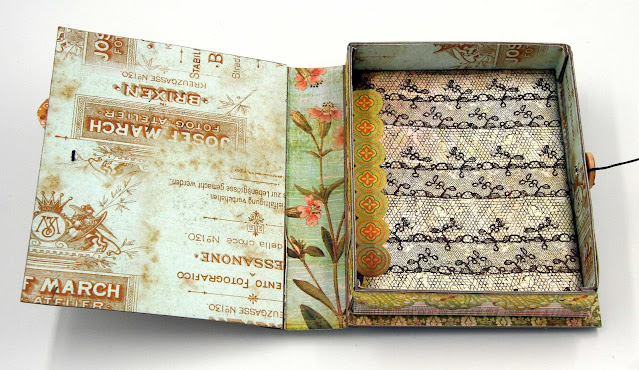
Inside the box I added a "floor" to give it a finished look.  Just cut a piece of mat or chip board to fit inside, approximately 4 5/8" x 6", and cover with paper.  (I like to use thin chipborad for this.)  Put a bead of glue around the edges as shown below and place the floor inside.  Make sure you do a test fit before you put the glue down.


Here's the finished inside.


Now it's time for you to get out some scraps and create! Be sure to post your creations on the Eileen Hull Fan Club Facebook page!


Here's another closure. You can see how I made it in this post 


Eileen Hull Designs Sizzix Products


Have you figured out what papers I've used? It's from a much loved company that sadly no longer manufactures scrapbook paper. It's BasicGrey Curio.

Thanks for stopping by!

xoxo Maggi

Tuesday, May 10, 2022

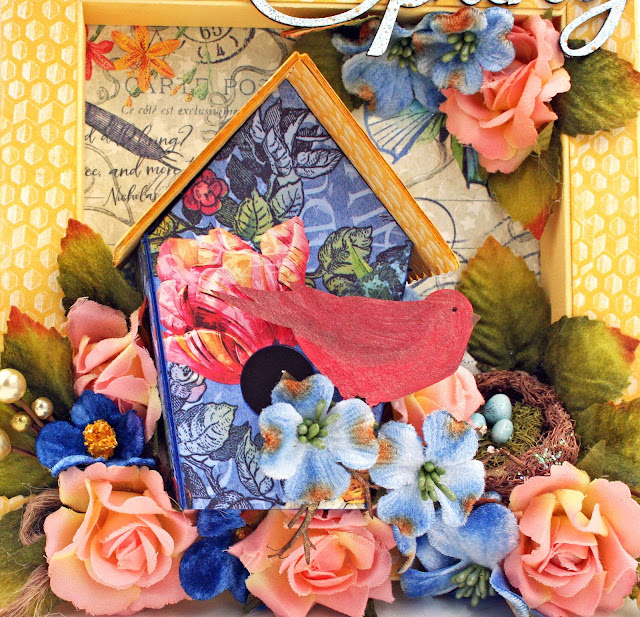
Ode to Spring Shadow Box and Birdhouse

 Ah Spring!  It's my favorite season, so when the May design team theme of birds, nests, and eggs was announced...well I just went kinda crazy! 

I used 3 different Eileen Hull by Sizzix dies to make this: large Shadowbox Frame, Birdhouse, and Phone stand.

I used Sizzix Cardstock Surfacez to construct the frame and then added design paper to the frame to give it some pizzazz.  The word, Spring, at the top is a Creative Embellishments piece and is heat embossed with Stampendouse Aged Green.


I used the Phone Stand as an easel on the back and it works really great.  The only modification you need to make to the Phone Stand is to leave off the piece that normally cradles the phone.


Now the fun part is the scene I constructed in the frame.  I built a birdhouse using Eileen's Birdhouse die.  The only modification I made is that when you put the roof on the birdhouse, instead of centering, place the roof such that the roof edge is flush with the back of the birdhouse.  That way when you place the birdhouse in the frame, it easily attaches to the frame with glue or tape.

I painted up a Creative Embellishments chipboard bird and added to the front of the birdhouse with dimensional foam.


Well, I know the nest should be inside the birdhouse 😊 but then you would not see it, so I tucked it in the flowers on the outside.


I have had so much fun using these Shadowbox Frames, there are so many fun things you can do with them!

Thanks for stopping by!  xoxo Maggi

Supplies


Tuesday, April 26, 2022

New Stamp Set from Eileen Hull by Maker Forte!


Eileen Hull's new stamp release is great.  You'll love using it with your planners, cards and layouts!  It has so many uses.  I made two cards to share with you today just to give you a quick flavor of this fun new set.

Here's what the set looks like.


My Cards


First up a birthday card with a sentiment, dream a little, from the new Making Plans stamp set.  I also used a Happy Birthday stamp from a previously released set, Snail Mail Postage.  I framed the sentiment using one of the blank label stamps also included in Making Plans.
The beautiful embossed panel is Eileen's newest 3D embossing folder, Crochet Mandala and those adorable little flowers are diecuts from a recently released Sizzix Thinlits Shadow Box Frame #1.


I used an older die from Eileen's Bookplate, Hinges & Label Thinlit set to diecut the stamped Happy Birthday sentiment.  Unfortunately,  Sizzix has discontinued this set but maybe you could find it elsewhere.


Supplies Used to Make this Card

Sizzix Framelits Die Set 8PK - Bookplate, Hinges & Label by Eileen Hull
Carta Bella - Farmhouse Market Paper Collection

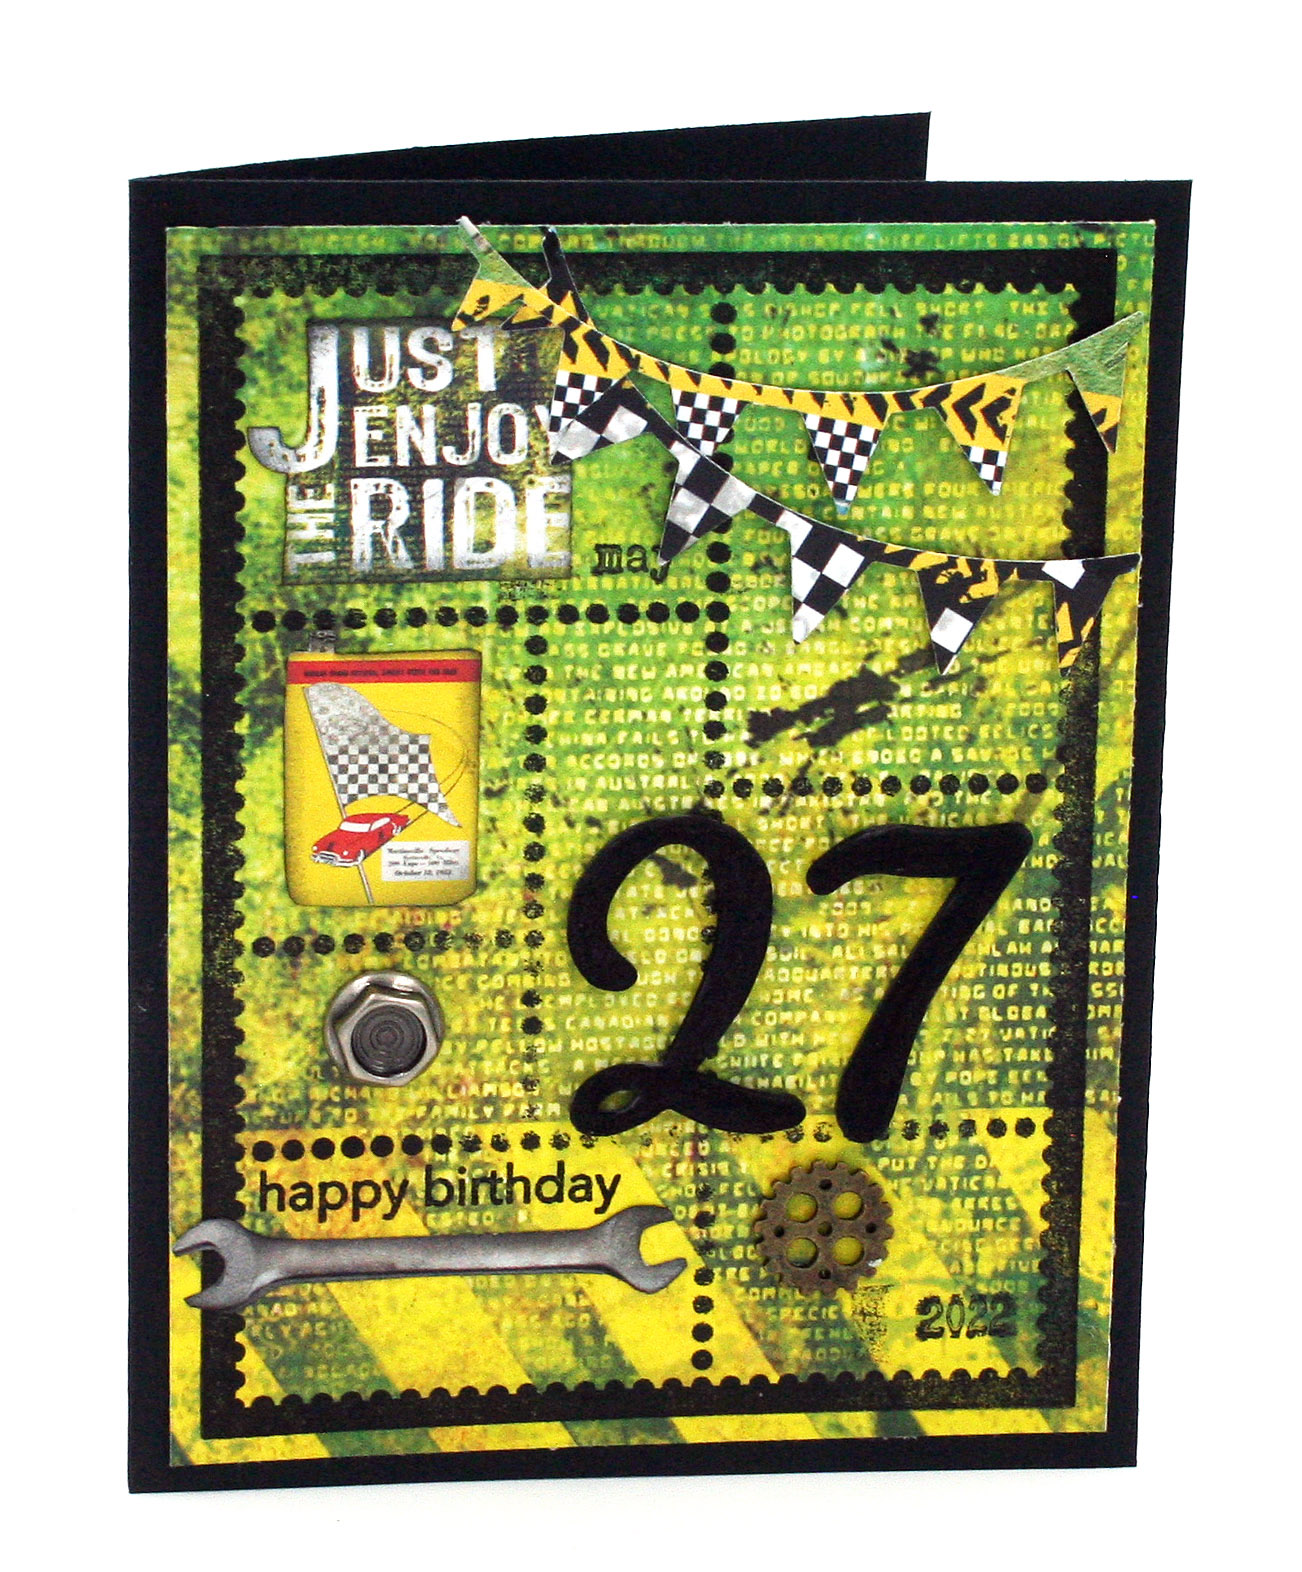
A Masculine Card


This is a fun card I made for my favorite car guy!  I used Making Plans stamps to stamp the month and year and added large foam Thickers to mark the day.


Eileen's Snail Mail Everyday Sentiments had a great stamp that I used to make frames for the elements that I fussy cut from the design paper.  (Eileen's Snail Mail by Sizzix Thinlits set works with this stamp as it diecuts the stamped image in to little stamps, I love that set!)


The Happy Birthday sentiment is from the Snail Mail Everyday Sentiments stamp set.


I thought the banners added the perfect festive touch to my card.  They were diecut with an olde Eileen Thinlit set, Banners and Pennants.

Supplies Used to Make this Card

Sizzix Thinlits Die Set 8PK - Banners & Pennants by Eileen Hull
Ciao Bella - Start Your Engines Paper Collection


Another way to use the new Making Plans stamps is on your layouts.  With these stamps you can easily add a reference date so that years from now, you'll know when your layout photos were taken.  The blan labels are so versatile and will work with many of your stamps.  

What I love most about this stamps set and all of Eileen's prducts is that they work so well together. When I'm designing for Eileen, I get out all my Eileen "stuff" and create.  I seldome need to use any other products!

Thanks for joining me today!
Maggi  xoxo


Eileen Hull Designs Shadow Box Frames

These Shadow Box Frames are so versatile, you can frame a photo, make a diorama, make a statement  to the world,  they are so MUCH FUN!

If you've followed my blog this month, you've sen several things I've done with these frames, look here for a round up of many of my frame projects.  This is the first one I did, just getting my fee wet as they say! 🤣

I faced the front of the frame with floral washi tape to cover up some tiny imperfections!  


I used the Shadow Box Elements Set to create the pieces inside this mini diorama and I made the two pink flowers with dies from the same set.


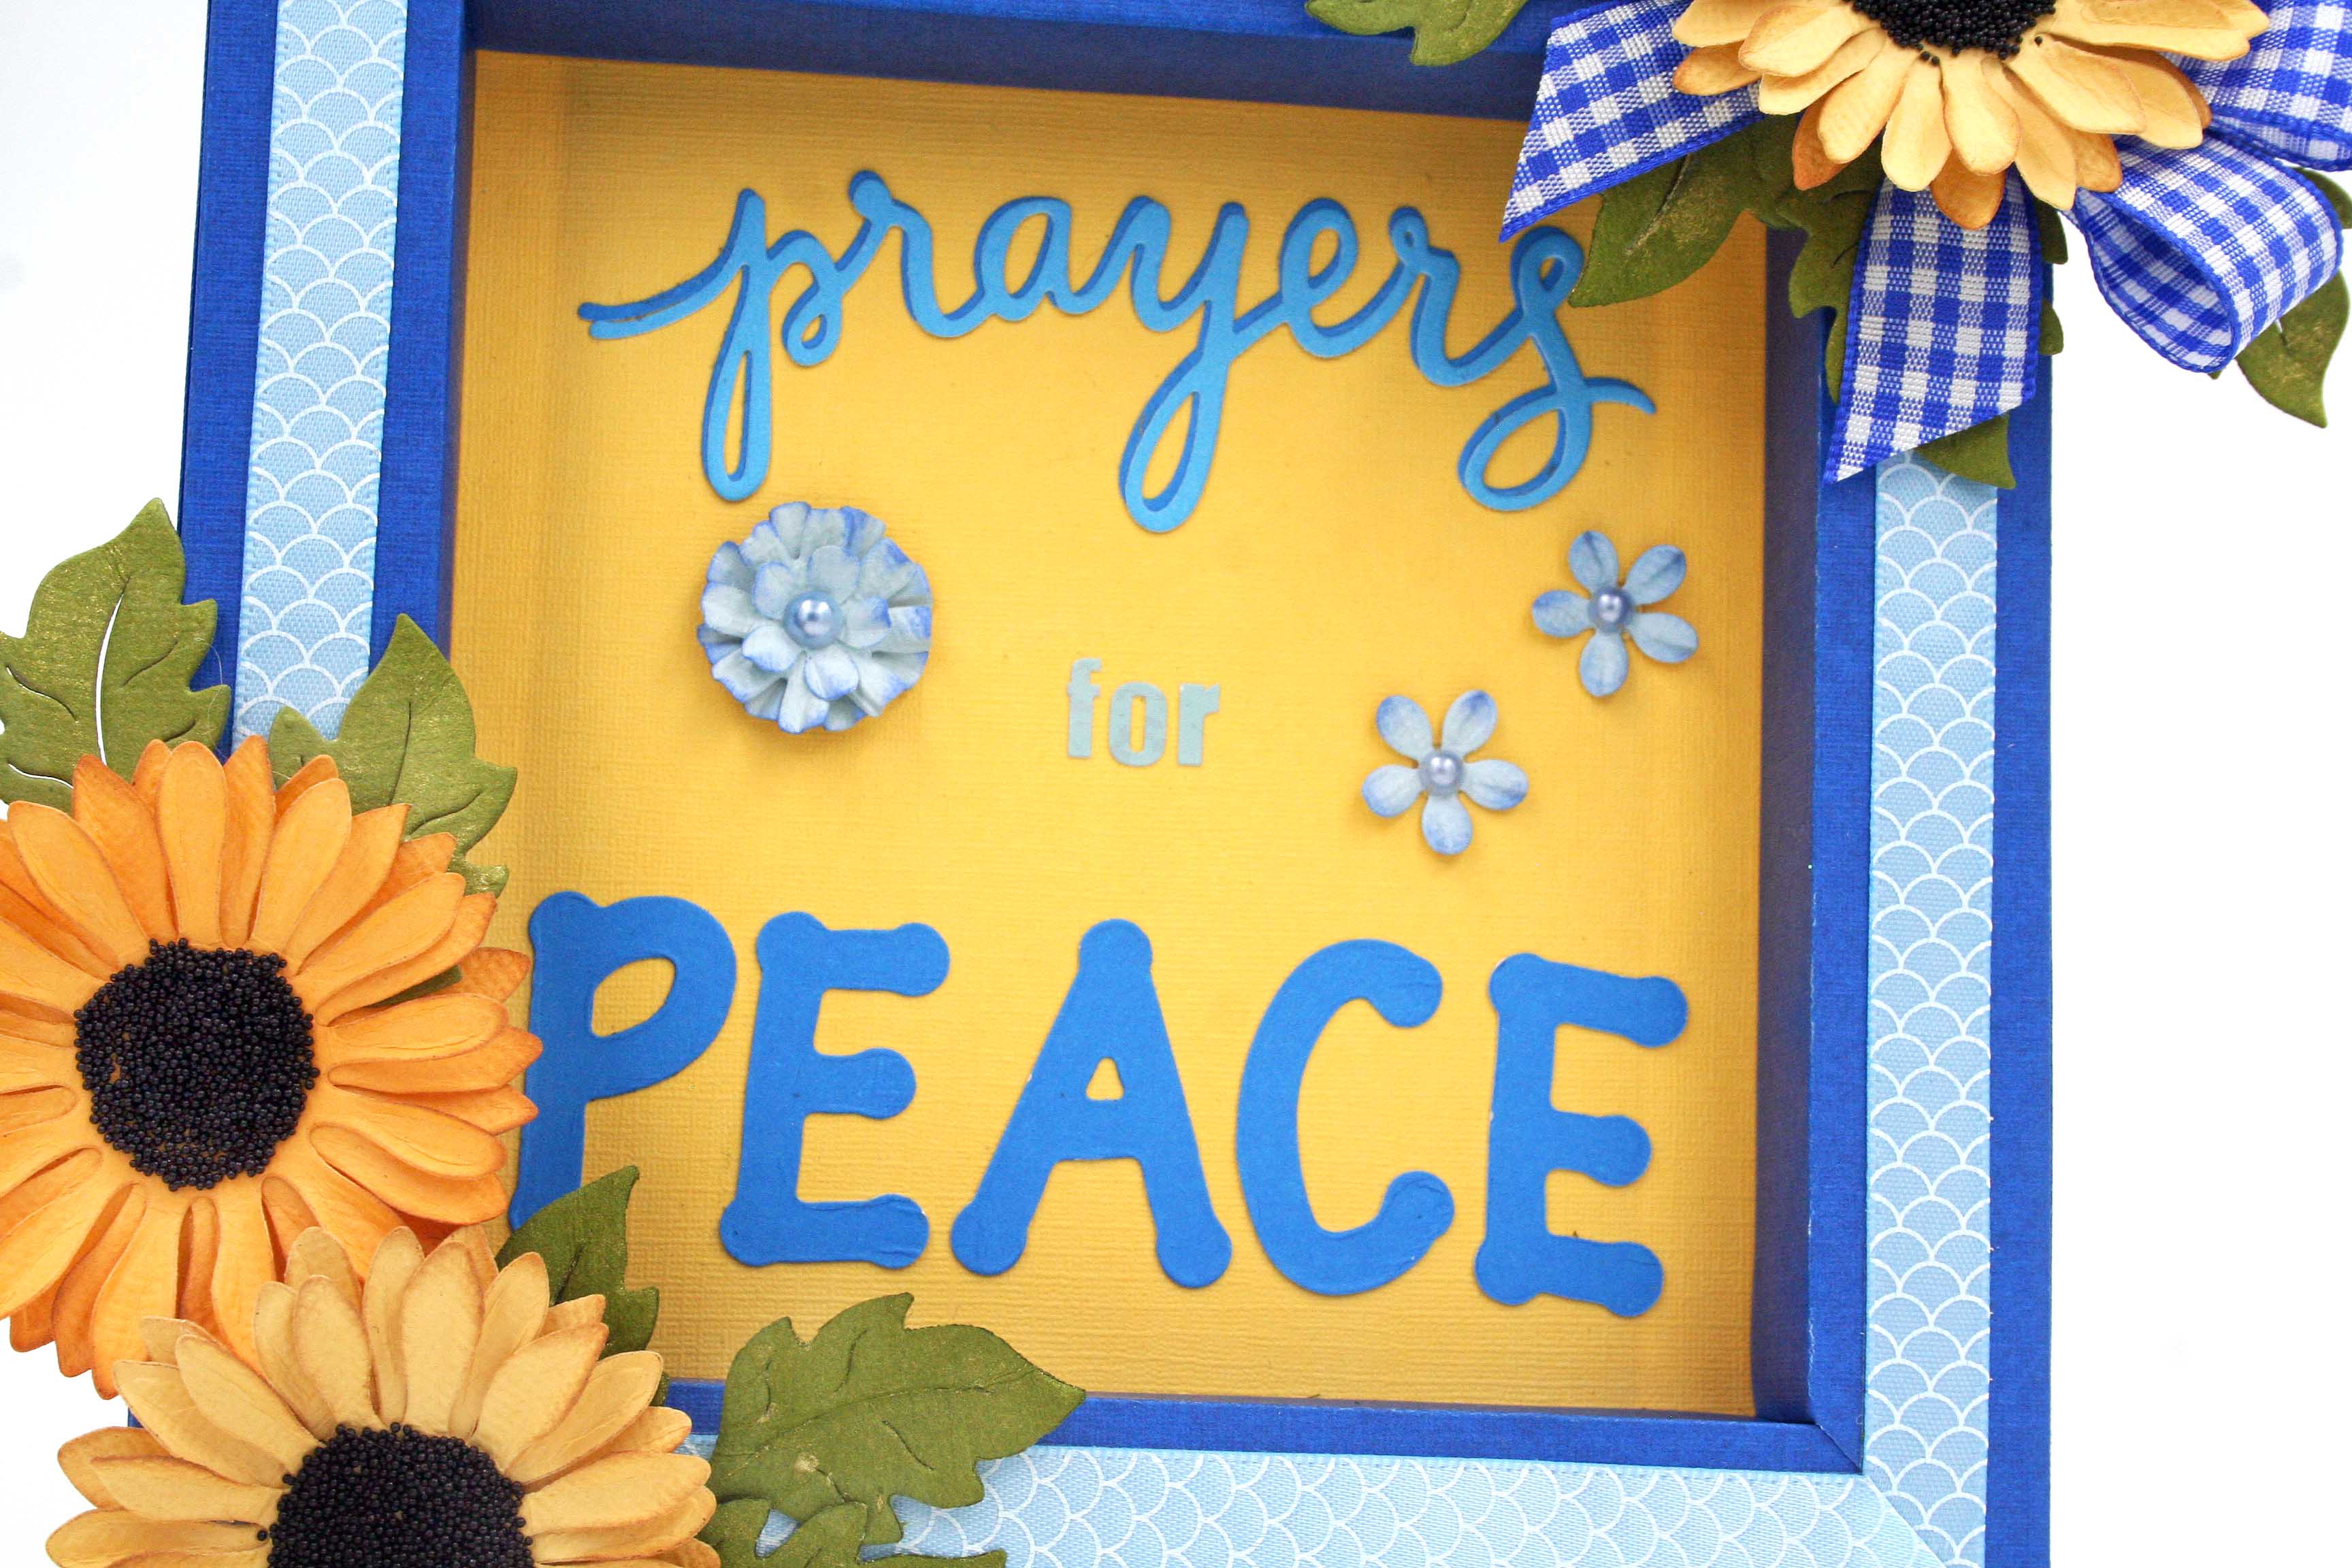
This was my second endeavor and the war in Ukraine was weighing heavy on my heart.  I used Sizzix Carstock Surfacez for the first time to build this frame.  It's great cardstock, just the right weight.  


I used Eileen Hull's recently release Phone Stand XL Scorboard die to cut an easel to use as a display stand.  The only modification you need to make to the Phone Stand is to leave off the piece that normally cradles the phone.


Inside the frame I used and older Eileen thinlit to cut the word "prayers" and the letters for Peace are Sizzix Lollipop steel ruled dies from long long ago! I bought them probably in 2005.


The blue and yellow are the color's of Ukraine's flag and the sunflower is their flower.

I love checkered ribbons!  This one looks so pretty with the sunflower don't you think?

Wednesday, April 20, 2022

Photo Cube with Shadow Box Frames

 Here's a really fun thing you can do with 4 Shadow Box Frames.  


To make this, build four frames all the same size, then glue the end to the back of the next frame all around until you have a square or rectangle, depending on the size frame you used.  To hold it all together nicely, cut 2 pieces of heavy cardstock or thin chipboard the size of your frame box and cover the top and bottom.


I didn't think the end of the frame glued to the next frame was very attractive, so I cut pieces of design paper and covered where the frames adjoin each other.  This would be really great to mount on a turntable so that the cube would spin!


Of course it "needed" someting on top, so I added flowers, ribbon, and a tag.


This would make a great grandparents' gift by placing photos of the grandchildren in the frames.  You know that would be a big hit!


Thanks for stopping by!


Supplies


Tuesday, April 19, 2022

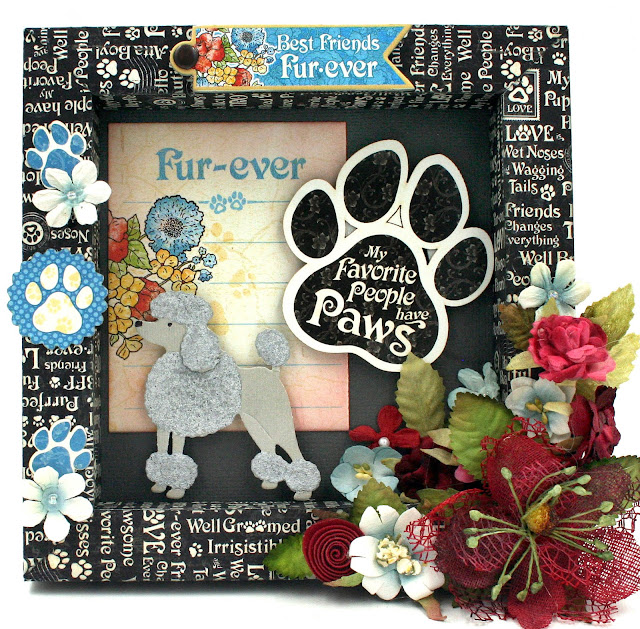
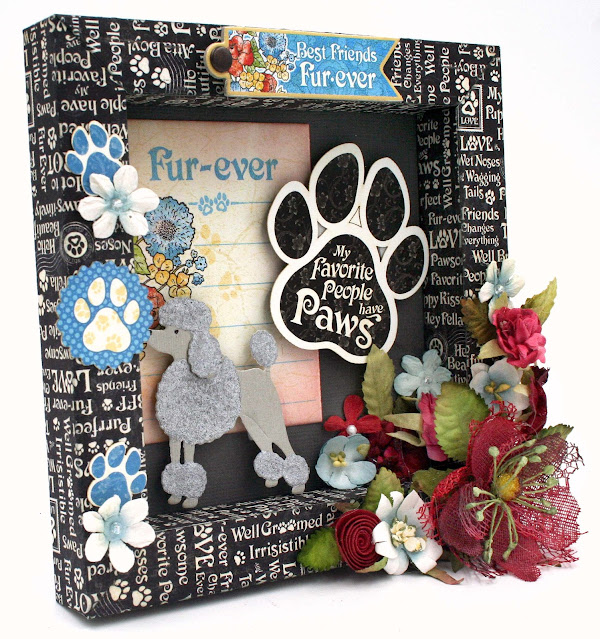
Eileen Hull Shadow Box Frame with Graphic 45's Well Groomed


I am loving Eileen's new Shadow Box Frame. I tend to use the largest size at 6" square.  It gives me enough room to create fun little scenes like this one with the silver poodle.  I have 2 standard poodles, a silver and a blue; I am quite smitten with them!


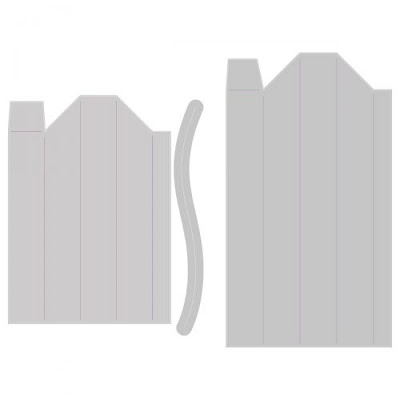
I love that this 3D frame is made from cardstock and goes together soooo easily!  This die set comes with 2 sizes so that you can make a large and a small square frame or a nice rectangular frame.  This is what the dies look like.  You just need to cut 4 pieces and assemble.
This frame is made with the larger one and measures about 6" square.  Tutorial for assembling the frame here.


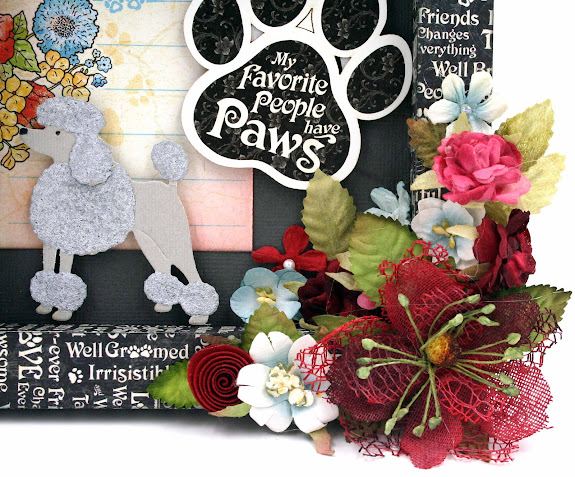
Gotta have some pretty blooms with my pretty poodle!


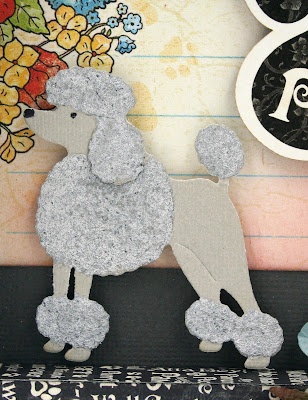
This cute little poodle is heat embossed with Ranger Antiquities Cement embossing powder; it sure makes great look poodle curls!


LinkWithin

Related Posts Plugin for WordPress, Blogger...