Eileen's Stacking Drawer Box was designed to fit inside the Treasure Box. But, those drawers can also stand alone...
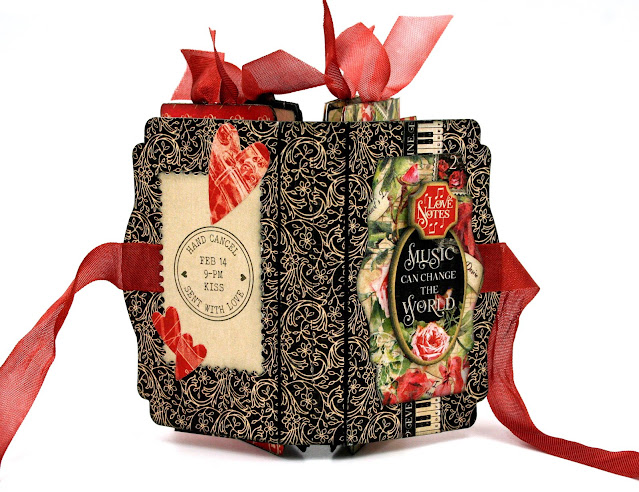
Just like this! I made 6 drawers and put them altogether creating a chest that will hold lots of small trinkets.
TUTORIAL
The chest of drawers is easy to make. Follow along with my tutorial and make your own.
Step 1: Die-cut and assemble as many drawers as you want in your chest. I wanted 6 but you could do 8 or 4 or make it a tall set of single drawers. Whatever you like!
I chose to add design paper to the drawers after assembly but you could also add design paper to your matboard before die-cutting.
Step 2: After assembling the drawers be sure to ink the edges.
Step 3: To cover the drawers with design paper, cut a strip of paper 10 3/8" x 1 1/2". Hold the right end of the paper right at the end of the box and traced the thumb cut out on the paper. Use a 3/4" circle punch to cut out the thumb notch.

Step 4: Adhere the paper around the box. This was a little tricky but the best way I found to do this was to hold the thumb cutout in place and adhere the paper from that point all around the box. Then I adhered the small portion along the thumb cutout over the wrapped flap. I hope that makes sense! I was afraid that if I started at the other end my thumb cut out might not be exactly positioned and I wanted the paper to cover where I wrapped around the corner.
Step 5: Now glue the boxes together. I started by making a stack of three using scortape to attach the boxes together. Then I attached the two stacks together, again using scortape.
Now to make the chest nice and neat I cut 2 pieces of thin chipboard to cover each end, 2 1/8" x 5", and a piece 2 1/8" x 6 1/4" to cover the top. Then I covered with design paper. So you would cut chipboard to cover your stack of drawers at whatever size you needed depending on how many drawers you use in your stack.
In this picture you can see the added panels on the sides and top.
The drawers are perfect for holding small trinkets.
View from the back.
You know I had to add flowers!
I dug deep into my stash and found this pretty cameo that I thought added a nice feminine touch.
I'd love to see what you do with all these stacked drawers. Be sure to post your creations in the Eileen Hull Fan Club Facebook page. You will need to join the group (if you haven't already) before you can post and be sure to answer the questions when you join.
Stop by Eileen's blog for more inspiration!
EILEEN HULL DESIGNS BY SIZZIX DIES