Pages

Tuesday, July 30, 2024

A Step Card Featuring Eileen Hull's Watercolor Flowers & Lattice Layered Stencils

 Here's a cheerful step card made with the Watercolor Flowers and Lattice Layered Stencils.  I love the pretty design made by using the layered stencils.

I first stenciled the lattice background with yellow ink.  I chose a light color because I wanted the stenciled floral images to cover over the lattice stenciling.  There are two floral stencils which gives the multicolor look to the flowers.  The larger petals are lightly stenciled with Distress Oxide ink (Victorian Velvet).  Then using the small petal stencil, I applied the same color of ink but used a heavier hand.  

I thought my card was sort of dull so I added the two lacy doilies die-cut with Eileen's Mandala die behind the center card and I think it was just what the card needed. The small bow finishes it off nicely!


This is a step card, which is one of my favorites. It stands up by itself and looks pretty wherever it stands!    Here's a link for a template to make this card.


Be sure to stop by Eileen's blog for more great ideas from all of the designers.


Thursday, July 11, 2024

Landscape Rose Etched Dies from Spellbinders

 I'm back with another great bloom that you can easily create with Susan Tierney-Cockburn's Landscape Rose die from The Nature's Botanical Garden Collection.


 These flowers came together quickly and add such a great focal point to my card.  Here's the die set.  You can make two different sized flowers with this set.


I like how the handmade flowers resemble the flowers on the journal card.


Thanks for stopping by,

xoxo Maggi

Spellbinders' Supplies


Wednesday, July 10, 2024

Spellbinders Nature's Botanical Garden

 You know I love flowers, so today I have a really cute card using gorgeous blooms from Spellbinder's  Susan Tierney-Cockburn Nature's Botanical Garden collection.


I love this pickup truck filled with hydrangeas. I'm so impressed with how realistic the flowers look!  Change the color of the flowers to match the season.  I've never seen an orange hydrangea but who said the flowers had to be real?  All colors of hydrangeas exist in my mind!

Here's the new die set I used for the flowers. 


Now, about that pickup truck, I do so love that die set.  Although it's an older die, it is still AVAILABLE!  Make that truck red and put an evergreen in it.  Presto, you have a Christmas card.

Thanks for visiting!  Be sure to pop by tomorrow to see another bloom from the fantastic Nature's Botanical Garden Collection.

xoxo,Maggi


Spellbinders' Supplies


Tuesday, July 9, 2024

Using Layered Stencils to Make Cards

 Have you seen Eileen's new layered stencils, Watercolor Flowers & Lattice?  The stencils are such a great way to build a lovely floral design on your projects! Even better, there's a matching Thinlits Die Set, Painterly Blooms & Background that you can use to cut flowers that match the stenciled flowers.


Here's a card I made using both the stencils and the die set. 


The process for making this card began  with choosing a simple background piece of design paper cut to 5 1/8" square.  The stencils in this set are designed to be used with the Sizzix Stencil & Stamp Tool but I don't have this tool yet so I just "winged it" and it worked just fine!

I used the lattice stencil first and just taped my stencil to my design paper and stenciled the lattice.   I also marked the circles at the top so I could properly line up the leaf stencil. (pictured below) 


After stenciling the leaves, I used large floral stencil, pictured below before applying ink. I used Tim Holtz Distress Oxide Ink as I like that it is opaque.


Here's the finished stencil. For this, I only used 3 of the 4 stencils.


Now to add dimension to my design, I used the Thinlits Die Set, Painterly Blooms & Background, to die cut some flowers and leaves. I cut several sets, inked and painted on some Lindy's mist to give them shimmer. I layered 3 blooms together and topped with a pearl and strategically placed the blooms and leaves over the stenciled image to add a 3D effect.


Last, I added two sentiments making this a cheerful card to send to a friend.


There are so many creative things you can do with these stencils and die set.  Be sure to stop by Eileen's blog to see all the wonderful creations of her inspiration team.

Thanks for visiting,

xoxo Maggi


Supplies


Other
Tim Holtz Distress Oxide Ink - Iced Spruce, Victorian Velvet
Lindy's Starburst Mist - Cosmopolitan Pink, Edelweiss Moss Green


Tuesday, June 18, 2024

Stacking Drawer Die from Eileen Hull Designs by Sizzix

 Here's another fun and versatile die, Stacking Drawers, from the recent Sizzix vault release. 


 The drawers fit nicely inside the Treasure Box, also part of this vault release, or they can be stand alone as I crafted below.


This is easy to make!  Follow along with me.

Step 1:  For each drawer cut these parts:


Step 2:  Build the box by placing red liner tape or adhesive of your choice  on the tabs. 


Step3:  Attach the two sides forming a rectangle.


Step 4:  Fold the tabs down and attach the bottom of the drawer.

The finished drawer should look like this:


Step 5:  The drawer slips into a band which is made from the other long die-cut piece.


Step 6:  Fold the end pieces over each other forming a band.  Clothes pins work great to hold it together while the glue sets up. Make sure the band fits around your assembled drawer!


Assembled drawer slides into the band.


Step 7:  Add adhesive to the top of the drawer so that you can adhere another drawer on top.


Step 8:  Adhere 3 drawers together then cut a piece of lightweight chipboard 2 1/8" x 5 1/4" and cover with design paper.


Step 9: Adhere the panels from Step 8 to the sides of the stacked drawers.


You should end up with a lovely drawer stack like this!  You could make the drawer stack taller or shorter, its up to you!


View from the rear; you could also put a panel on the back side.

These little drawers make great little presents or favors.  There's another tutorial for these here.

Another set of  Stacked Drawers.


Eileen Hull Designs by Sizzix Dies


Thanks for joining me today!

xoxo Maggi


Tuesday, June 11, 2024

Eileen Hull Designs by Sizzix Treasure Box

Here's another vault release from Eileen Hull Designs by Sizzix.  This is the Treasure Box and in addition to being a fabulous box on its own, it also works with the Stacking Drawers and Notebook.  See how the drawers fit inside the Treasure Box?


I chose to make my box a stand alone, i.e. no drawers. 

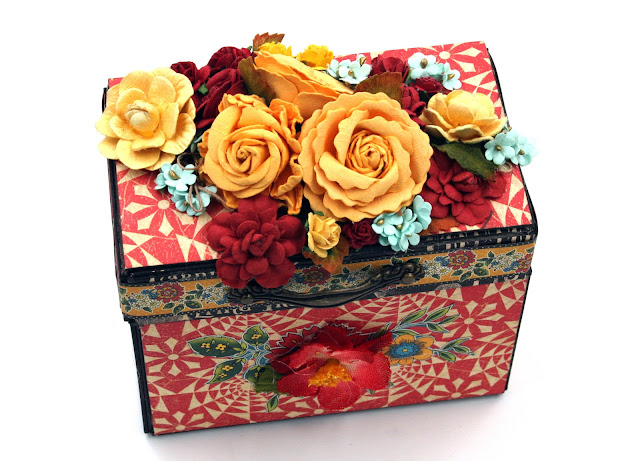
 I put a cute little handle on the front and topped with lots of lovely blooms.

This box is easy to make.  Here's how I put mine together.

Step 1:
I cover my matboard with paper before die-cutting. You need to cut 6 pieces as show below.  The 2 largest pieces are the box, the thin pieces are the lid, and the 2 rectangles are for top and the bottom of the box. I chose to make my sides 2 different colors.


Step 2:
Put adhesive on all the tabs as shown.  I like to use red liner tape as it has a strong hold. 


Step 3:
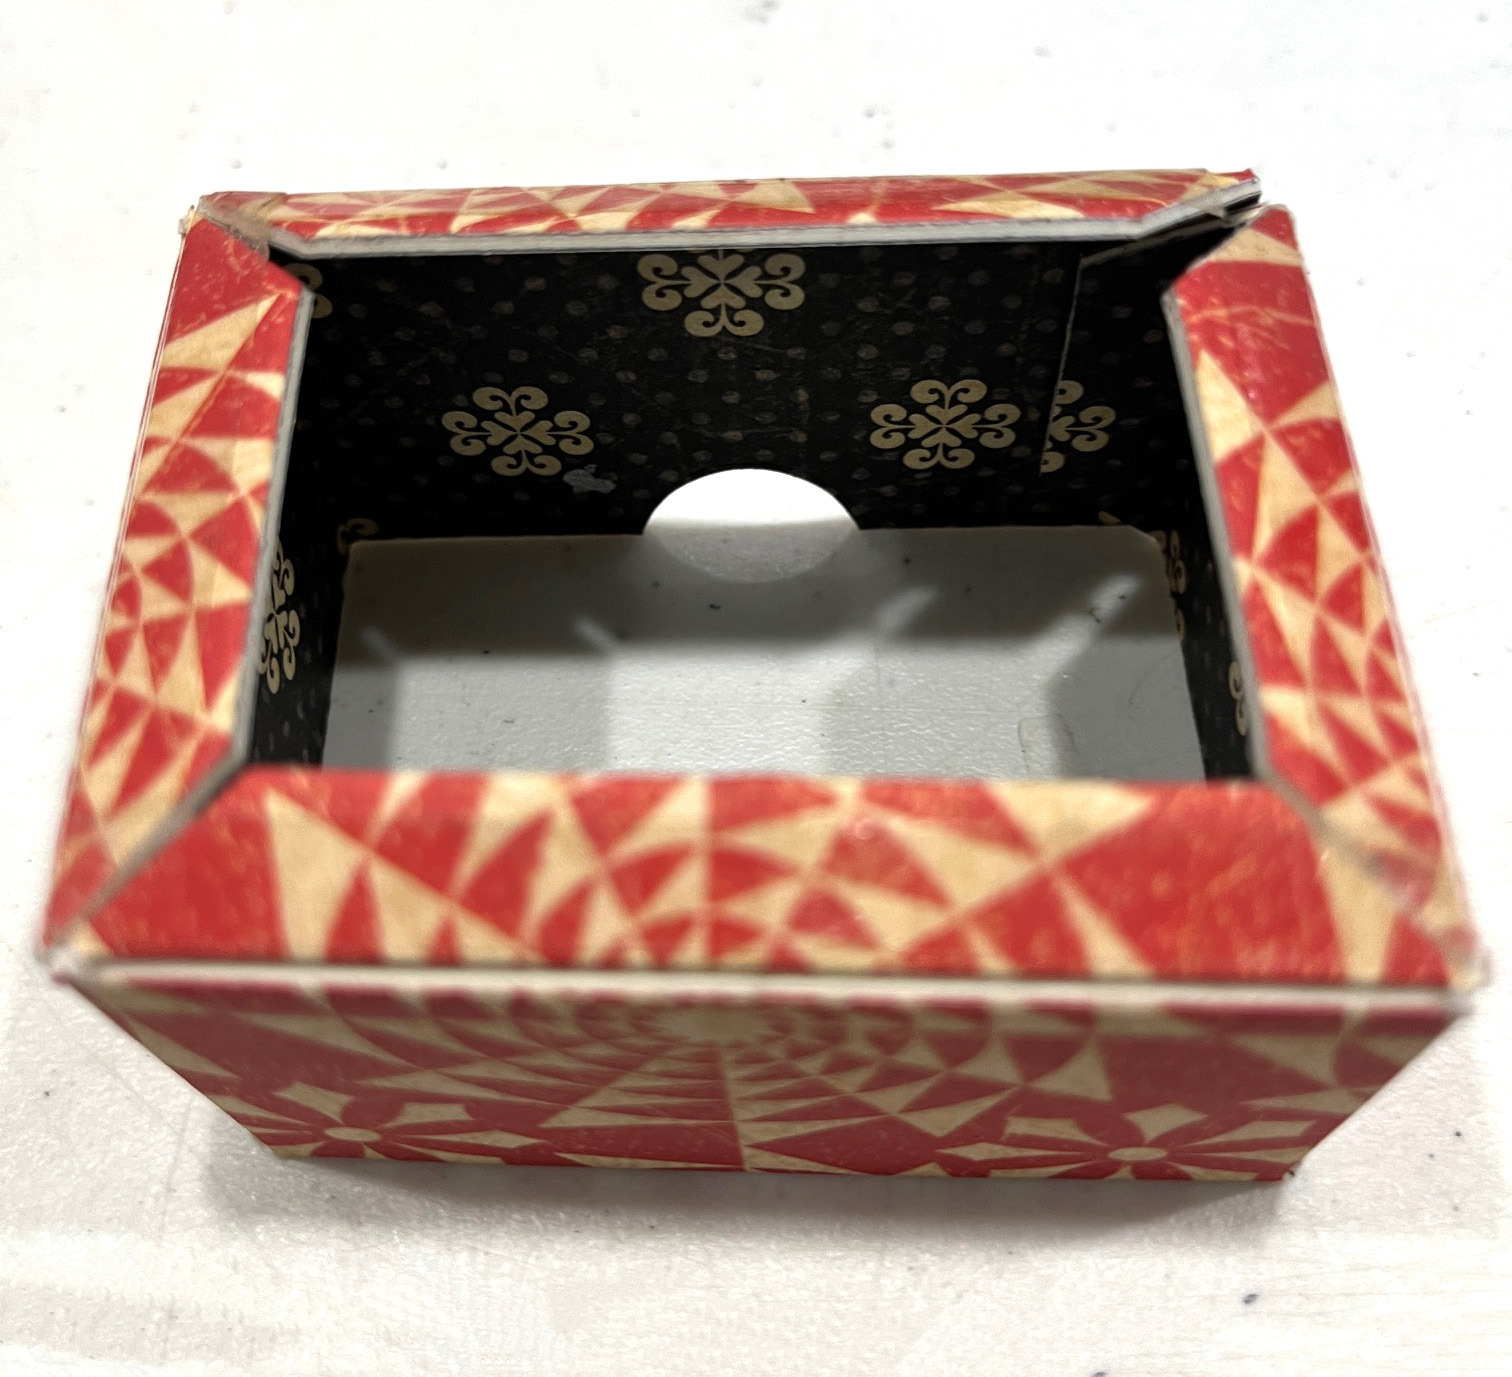
Join the sides together forming a rectangle shaped box.  


Step 4:
Then fold the tabs in as shown above and attach the bottom of the box.

Step 5:
Put the top of the box together in the same manner as the bottom.  I made my own hinge system for the top.  Die-cut another of the long sides of the lid, then cut the tab off one side and cut at the score-line on the other side. 

Step 6:
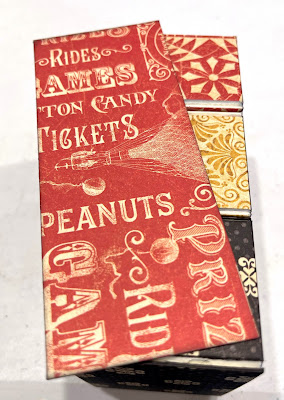
Place red liner tape or your favorite adhesive on the back side of the die-cut.  Attach the larger section to the inside of the box and the tab to the box top.  You can see the tab on the box top in this photo.  I place a floral decorative strip on the other section of the hinge.


Here's the back of the box.


Inside the box.  (Note: That's just a paint brush handle holding the box open so I could photo.)
Here's a link to another example of a Treasure Box that I made when this die was first released.  

Eileen Hull Designs by Sizzix Dies


Other


Thanks for visiting!!  

xoxo Maggi


LinkWithin

Related Posts Plugin for WordPress, Blogger...