Pages

Tuesday, October 11, 2022

Eileen Hull's Geometric Box and Sunflower Dies - Flower Tutorial


Eileen's Geometric Box is so pretty and has many uses.  It could be a favor box, gift box, dry flower vase pencil cup, it could be so many things!

I chose to make the box without a lid so that it can be used as a pencil cup.


Flower Tutorial

I used Eileen's new Sunflower Die to make a flower embellishment.  Here are the steps.
1.  The die has 3 size flowers on it; cut 4 of the middle size and 3 of the small flower.  Ink the flowers and then lightly mist them so that they can be easily shaped.


2.  Pinch the sides of the flowers together.  I like to use my tweezers to help shape the petals.  Dry the flowers, reshaping as necessary during drying.


3.  Stack and glue the flowers such that the petals are not completely overlapping each other.


4.  To make the center, roll the petals up into curls as shown.  I used my tweezers but you could use the end of a small paint brush or something similar.


5.  Stack the three curled centers onto a brad and secure.  Unroll the petals slightly so that the flowers fit together.


6.  Adhere the center to the petal assembly and look at your beautiful flower!


View from the back.


View from the side.


Here's another flower I made with the same die.  This time I cut 2 large flowers and 2 of the middle size and the round centerpiece.  Instead of pincing the petals, I gave each petal a twist with my tweezers.  Then I stacked and glued the two middle size flowers onto the 2 larger flowers.

I made the center of the flower by putting a thick layer of Glossy Accents all over the centerpiece and then poured microbeads all over.  I allowed that to dry and then sprayed with acrylic sealer to keep the beads from popping off.  (You can filled in any areas that don't have enough beads by adding more glue and beads before spraying with acrylic sealer.)

I cut 2 leaves using the die from green cardstock to place behind the flower.  


I wanted a fall themed card holder so I made 2 XL Cardboxes from Eileen's Chapter 3 release and glued them together.  Then I wrapped them together with design paper from Graphic 45's Let it Bee collection.  
I used a journaling card underneath the flower.


On the back I added two small commercial flowers.


Supplies


Napking Rings with Eileen Hull's new 3-D Silverware Textured Impressions Embossing Folder

I made these elegant napkin rings with Eileen Hull's new 3-D Silverware Textured Impressions Embossing Folder, and a few items from my stash.  Watch the video below to see how easy they are to make.


The luster wax brings out all the  embossed details.

Tuesday, October 4, 2022

Chapter 4 Sizzix Release with Eileen Hull Designs


A message from Eileen about the exciting Chapter 4 release:

Chapter 4 is finally here! Each release is so exciting and it never gets old…
The Geometric Box is a different kind of design for me. I love the ease of assembly, the unique shape and and the possibility of expanding the box into larger containers! This is a ScoreBoards die so it may be cut from sturdy materials like matboard, chipboard, metal, leather and fabric. The finished box measures 4” h x 3” w x 4” d… or so… a fun feature of this die is that it adapts to how you shape it. You’ll see 🙂 Watch my livestream videos to show how to expand the possibilities of this die.
Use the Geometric Box for storage- for pencils, silverware, flowers, or tools. The box may also be used as a gift container- imagine adding teabags, a pretty silver spoon and a bow as a get well gift!
The Sunflower is a Bigz L steel rule die- designed to cut and score a myriad of materials. The Sunflower is BIG- it measures about 4" across and comes with a leaf, three sizes of petals and a flower center! Stack layers of petals to make a traditional sunflower, or change colors and create a pink coneflower. The basic shape is there for you to create your own flowers! Make a stem for the flower using wire and your Twist and Style Tool. The coordinating Geometric Box die works perfectly as a vase.
I love the whimsical patterns of vintage cutlery and that's why I created this Silverware 3D embossing folder! The design is so detailed you can actually see a tiny bride and groom on the handle of a cake server.
This folder is perfect for creating seating charts, menus, invitations, cards and recipe books. You would be surprised at the many materials you can emboss- metal, paper, cardboard, Sizzix texture roll and more. Once you have embossed the image, rub a light coat of a metallic Luster Wax over the top of the design and you have an amazing result!
I hope you will give these dies a try. Please remember to share them in the Eileen Hull Fan Club Facebook group so we can all be inspired!

My Designs

The vintage cutlery 3D embossingfolder was perfect for making elegant napkin rings for the coming holidays.

Take a look these napkins rings made with this folder.  They will look so elegant on my table with white napkins.  Join me Oct 11 and I'll show you how I made them.


Now take a look at these two XL dies.  Here's the Geometric Box from Eileen.  The box can either be lidded or not.  I decided to leave the lid off.
Here's my geometric box that I've embellished with the 2nd XL die in this release, a sunflower.


This is the sunflower die. I made two similar but different flowers with this die.
I've styled it two different ways.  This one with a curled leaf center.


And this one, a more traditional sunflower with microbeads forming the center.  I've attached the flower to two card holders from the Chapter 2 released in August. 

Be sure and stop by Eileen's blog and see all the great projects made by Eileen's designers.


Supplies


Tuesday, September 13, 2022

Cards and more cards for Eileen Hull Designs

 Eileen Hull's design team is making cards this month and I have 2 travel themed cards  to share with you.

This one was made with an old Graphic 45 collection, Come Away with Me.  I like to use lots of layers and I piled them on this card! I made the card base from cream cardstock, and then added these layers:  brown distressed Core'dinations cardstock, striped design paper, and Eileen's Skinny Mini Element floral  diecut.  Then I piled on a tag and envelope topping that with a chipboard piece from the collection, and of course, some flowers.  I love how this looks so vintage!


The inside is blank so I can use it for any purpose.


Take a closer look at the diecut Skinny Mini Panel. It's such a pretty lacey floral!


This card is a bit more masculine.  The appers are Carta Bella from an old travel collection.


The dark brown panel really makes this card and gives it lots of interest and texture.  It is a piece of black cardstock embossed with Eileen's new Woven Leather 3D embossing folder.  After i embossed the black paper, I used a little Sizzix Gold Lustre Wax lightly brushed over the embossing to bring out the details.


I added a metal flower to fill up that space in the bottom right corner.  To give that flower some sparkle and shine, I brushed embossing embossing ink randomly on the petals, sprinkled with embossing powder and heat set.  It really adds dimension to the flower!


I'm one of these "more is better" people so I added a strip of design paper on the left side and topped it with Tim Holtz film strip and secured it with two brads.  


Supplies:


Be sure to stop by Eileen's blog for more card ideas from all of Eileen's designers.  

Thanks for  visiting!
Maggi xoxo


Tuesday, August 30, 2022

XL Skinny Mini Die from Eileen Hull Designs by Sizzix

My favorite die from Eileen Hull's Chapter 3 release is the XL Skinny Mini.  It's great for making a thin book box or for making a mini album.

My first project with the new Chapter 3 dies was this mini album filled with photos of new friends made on our trip to Canada.  I chose to use the mini horizontally as I find this works better when designed tiny pages.  As usual I covered the matboard with cardstock before diecutting the mini.

I used two silver elements that I wanted to be gold so I attempted to cover with Gold Lustre Wax by Sizzix.  The coverage is not complete but it does make them look sort of aged don't you think?


I made a closure for the book with two 5/8" tabs glued under the design paper.  I tried using magnet closures but the book is so stuffed the magnets wouldn't hold so I used small pieces of velcro.


Back cover.


I used the Bookbinding & Label die to make an insert to bind the pages into the mini.  One of the pages I made into a pull out (pictured below) so that I could include all the photos that I wanted to use.  to keep the page secure, I made two flaps that fold over each other and held together with magnets.


My next project with this same die is an XL Skinny Mini box.  You know I love dogs and I love to make dog related things so I thought this box would be so cute as a holder for tiny milk bones.  That adorable dog embellie is something I've had for at least 15 years!  


I made a closure for this the same way that I did the mini but I added a lion's head door knocker to grasp the tab.


This box goes together really easily.  Here's a video from Eileen with assembly instructions.  


I know all my dog loving friends are going to want this!!  


Supplies


Thanks so much for visiting.  I have lots more projects to share so stay tuned in!

Monday, August 29, 2022

Chapter 3 Dies from Eileen Hull by Sizzix

 Hi everyone!  It's been a while and that's because I spent most of the summer in the Canadian Maritimes.  WOW what a wonderful trip.  We started in Montreal and followed the St Lawrence River to the Bay visiting Prince Edward Island, New Brunswick and Nova Scotia along the way.  Then we took a ferry to Newfoundland and spent 20 wonderful days, the returned to Nova Scotia and back to the US via New Brunswick.  I loved every thing about the Maritimes but I'd say that Newfoundland stole my heart!!  

Well, now it's time to get back to crafting and I've been busy since we got home.  Eileen's Sizzix Chapter 3 dies were released while I was gone so I've had a great time using those. First I made a couple of card holders that are ever so useful!  Christmas is coming, I know this will come in handy!  This is made with the XL Card Box and goes together so easily and its so functional!  You could glue several together and have a great storage bin.


Here's a view from the back.  To make this I covered a piece of Sizzix matboard with paper (Graphic 45's Let it Snow Collection) and then ran it through my Sizzix Switch diecut machine.  Then you need to cut just one extra side and then you have the 3 pieces necessary for the box!  I wrapped a coordinating border around the box to give the joints extra strength.

Close up shot of the florals on the front.


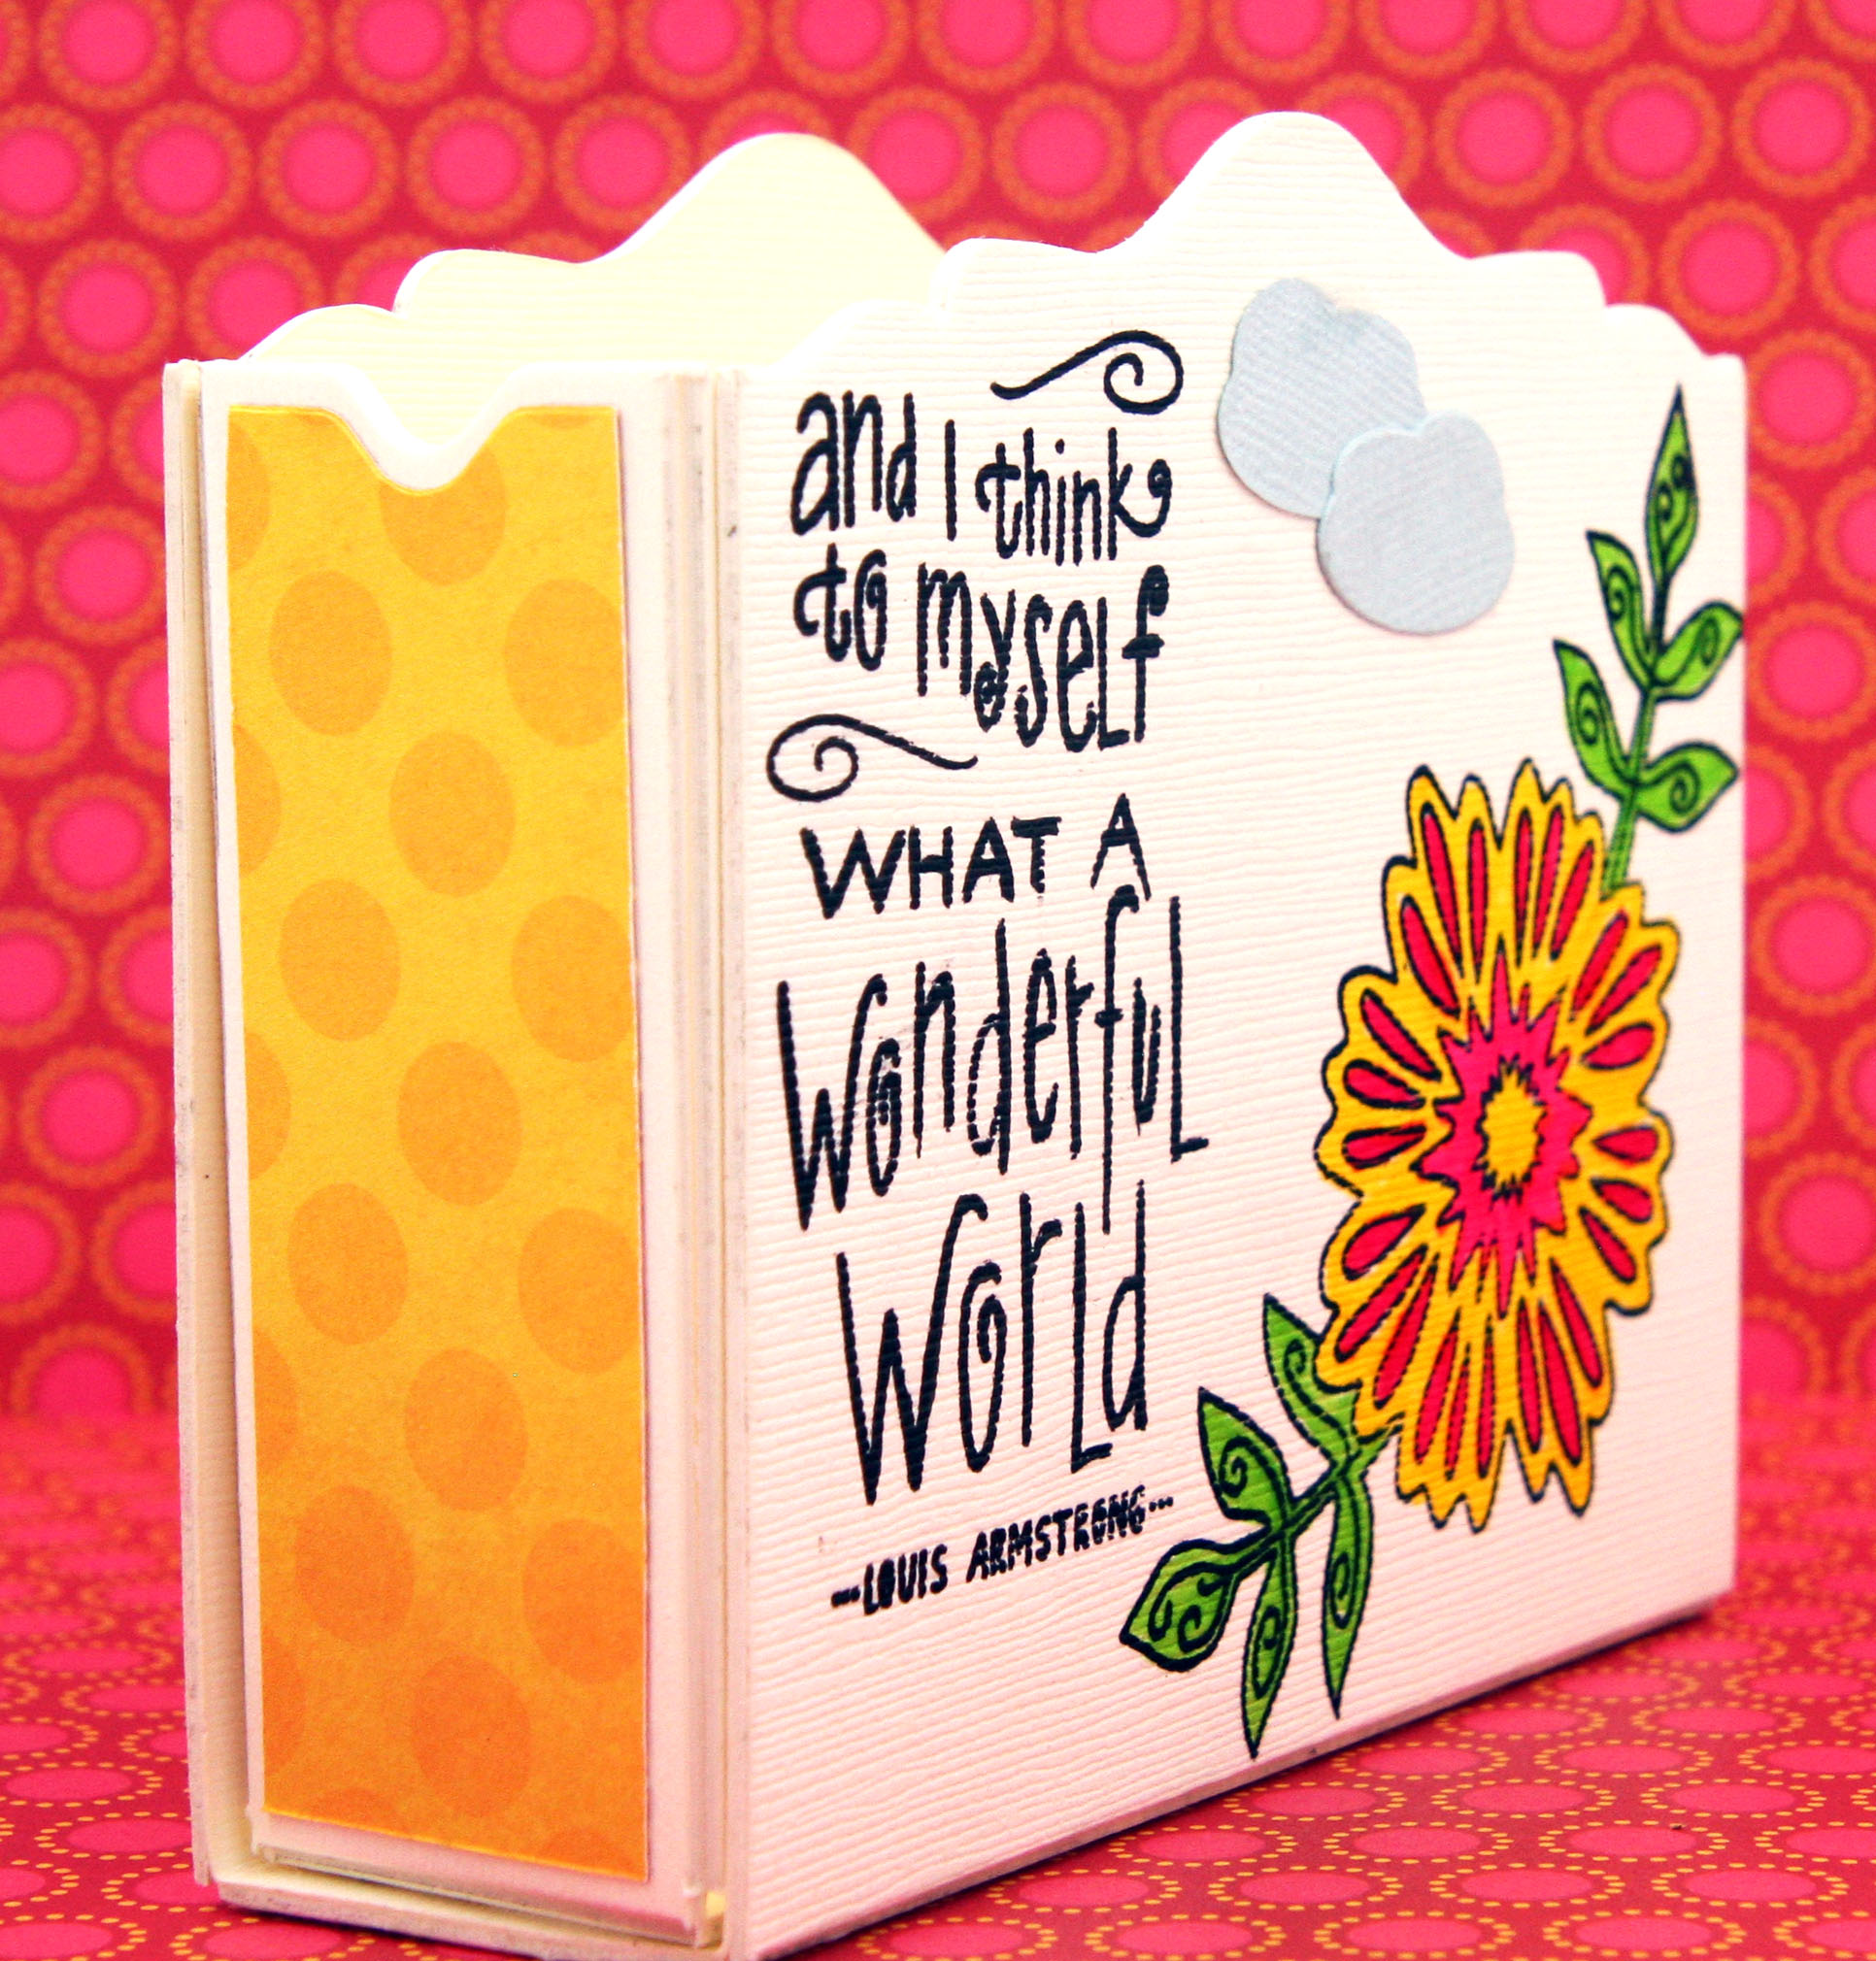
Here's another one I made for general purpose cards.   I covered a sheet of mat board with cream cardstock and then diecut.  Before assembling, I stamped on the front with some of Eileen's stamps and added the colorful accent pieces. 


 To make the yellow and red accent pieces, diecut paper with the XL Card Box die.  Then cut about an 1/8" from each side and the bottom.  Now you can glue the colorful pieces onto the box leaving a nice border all around.


Supplies


Stp by tomorrow and I'll have a couple more projects to share with you using Eileen's new dies!

LinkWithin

Related Posts Plugin for WordPress, Blogger...