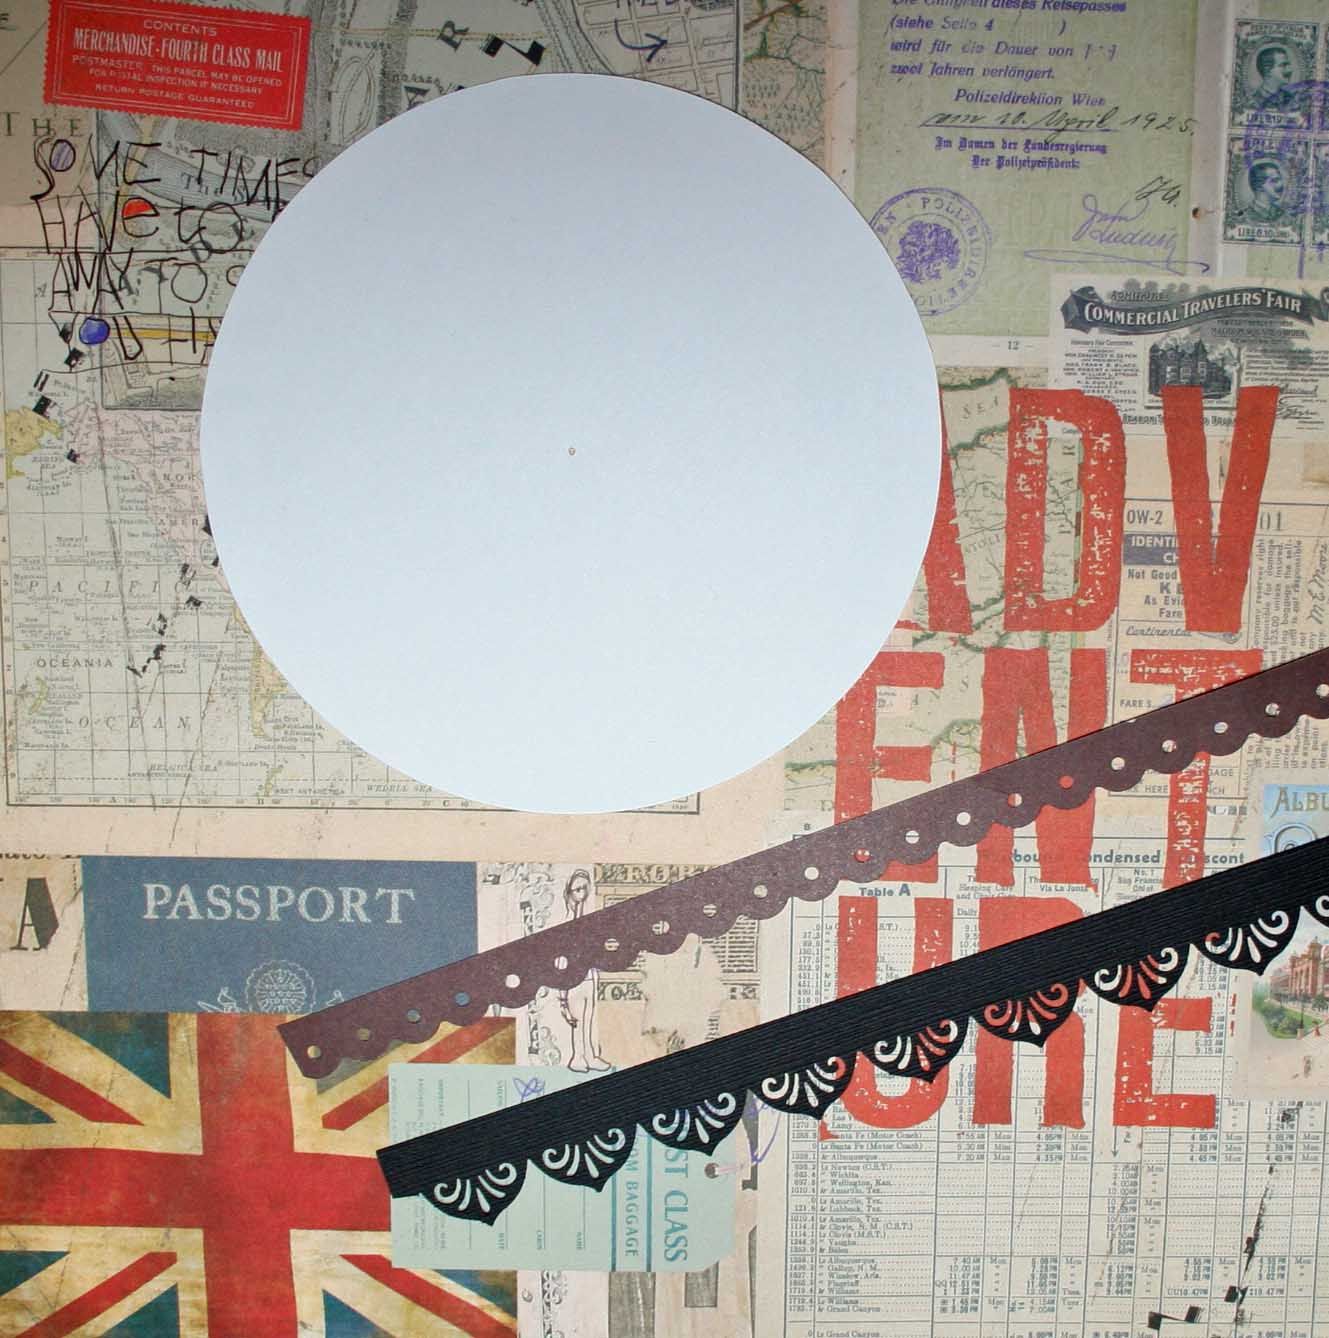
1.Cut out a border strip using whatever border punch you want. Below I have cut two different borders just to show that each will work.
 .
.
2. Cut the punched border strip into segments as pictured. It looks good to ink the segments particularly if you are using paper with a white core
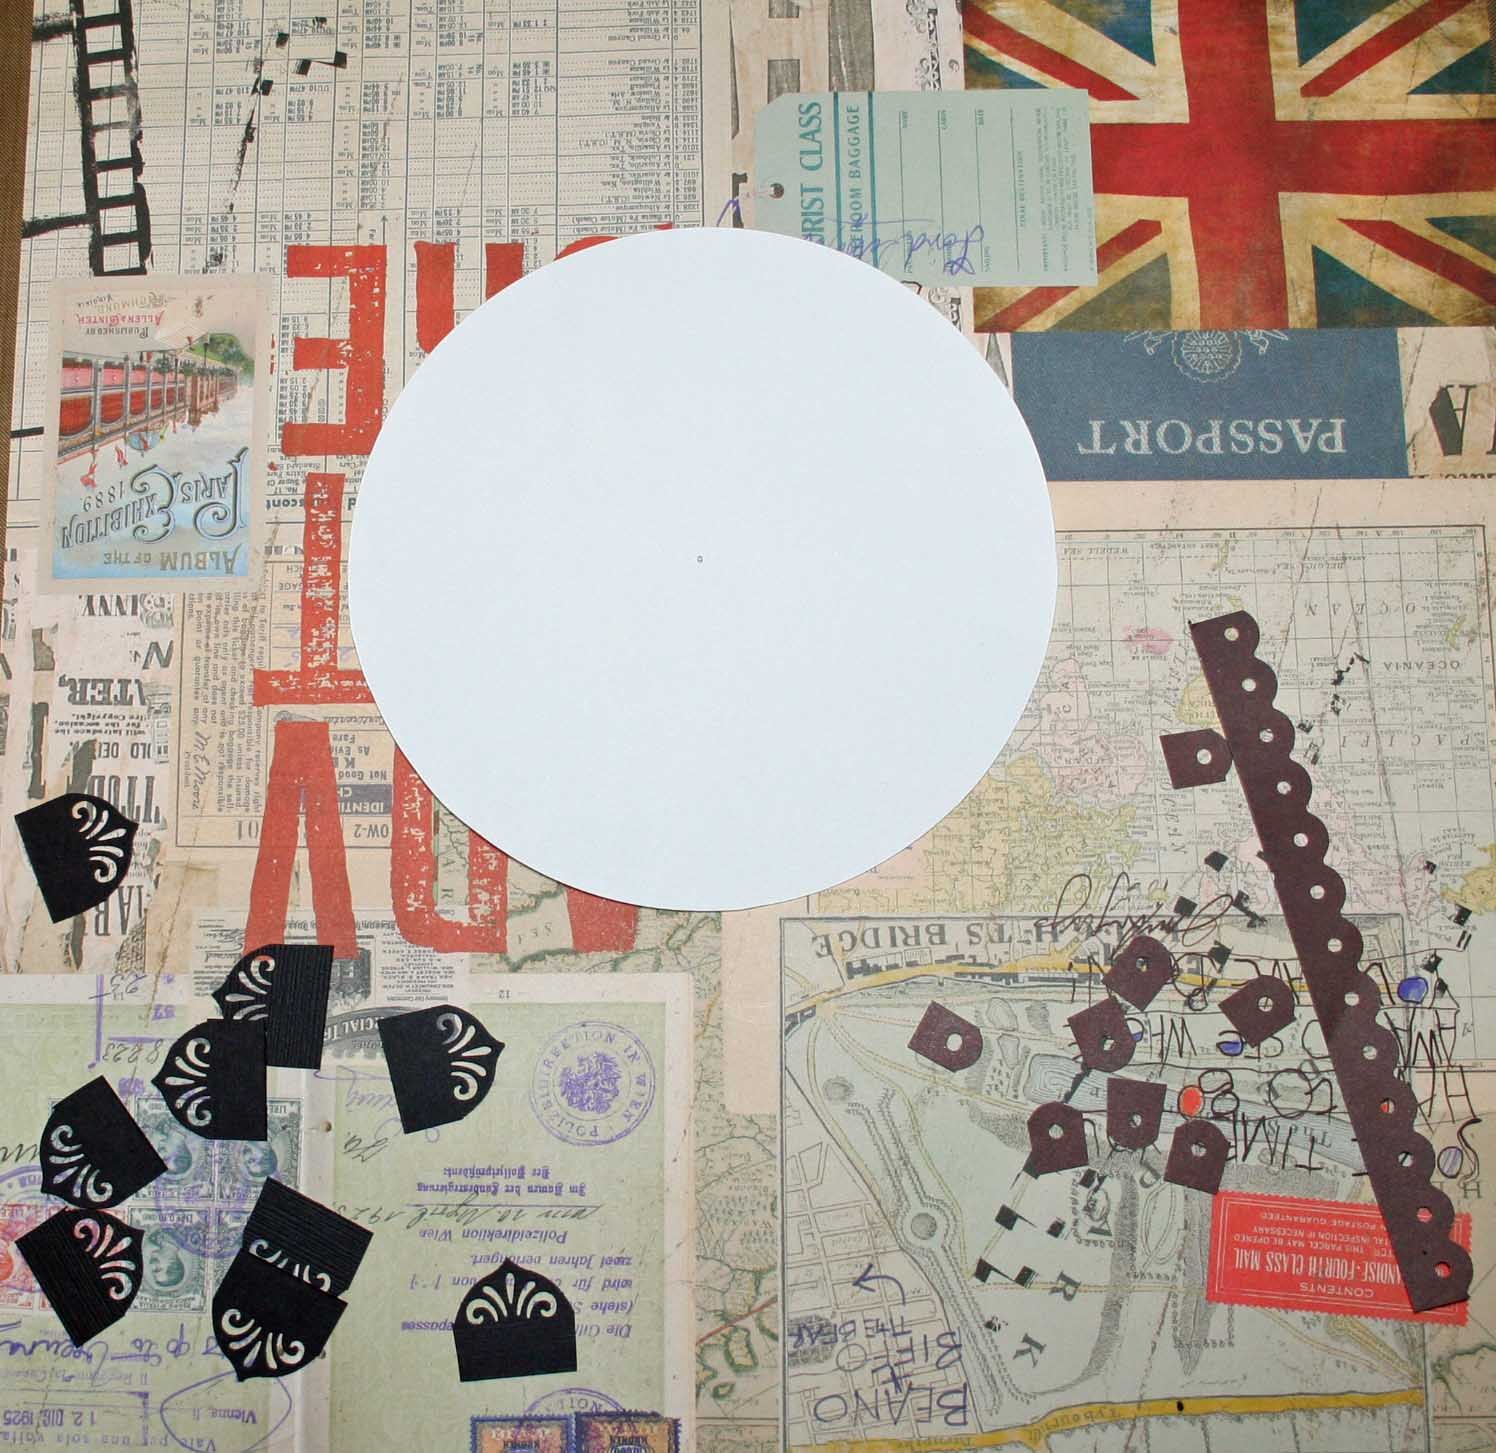
3. Glue the individual segments to the backside of the circle:
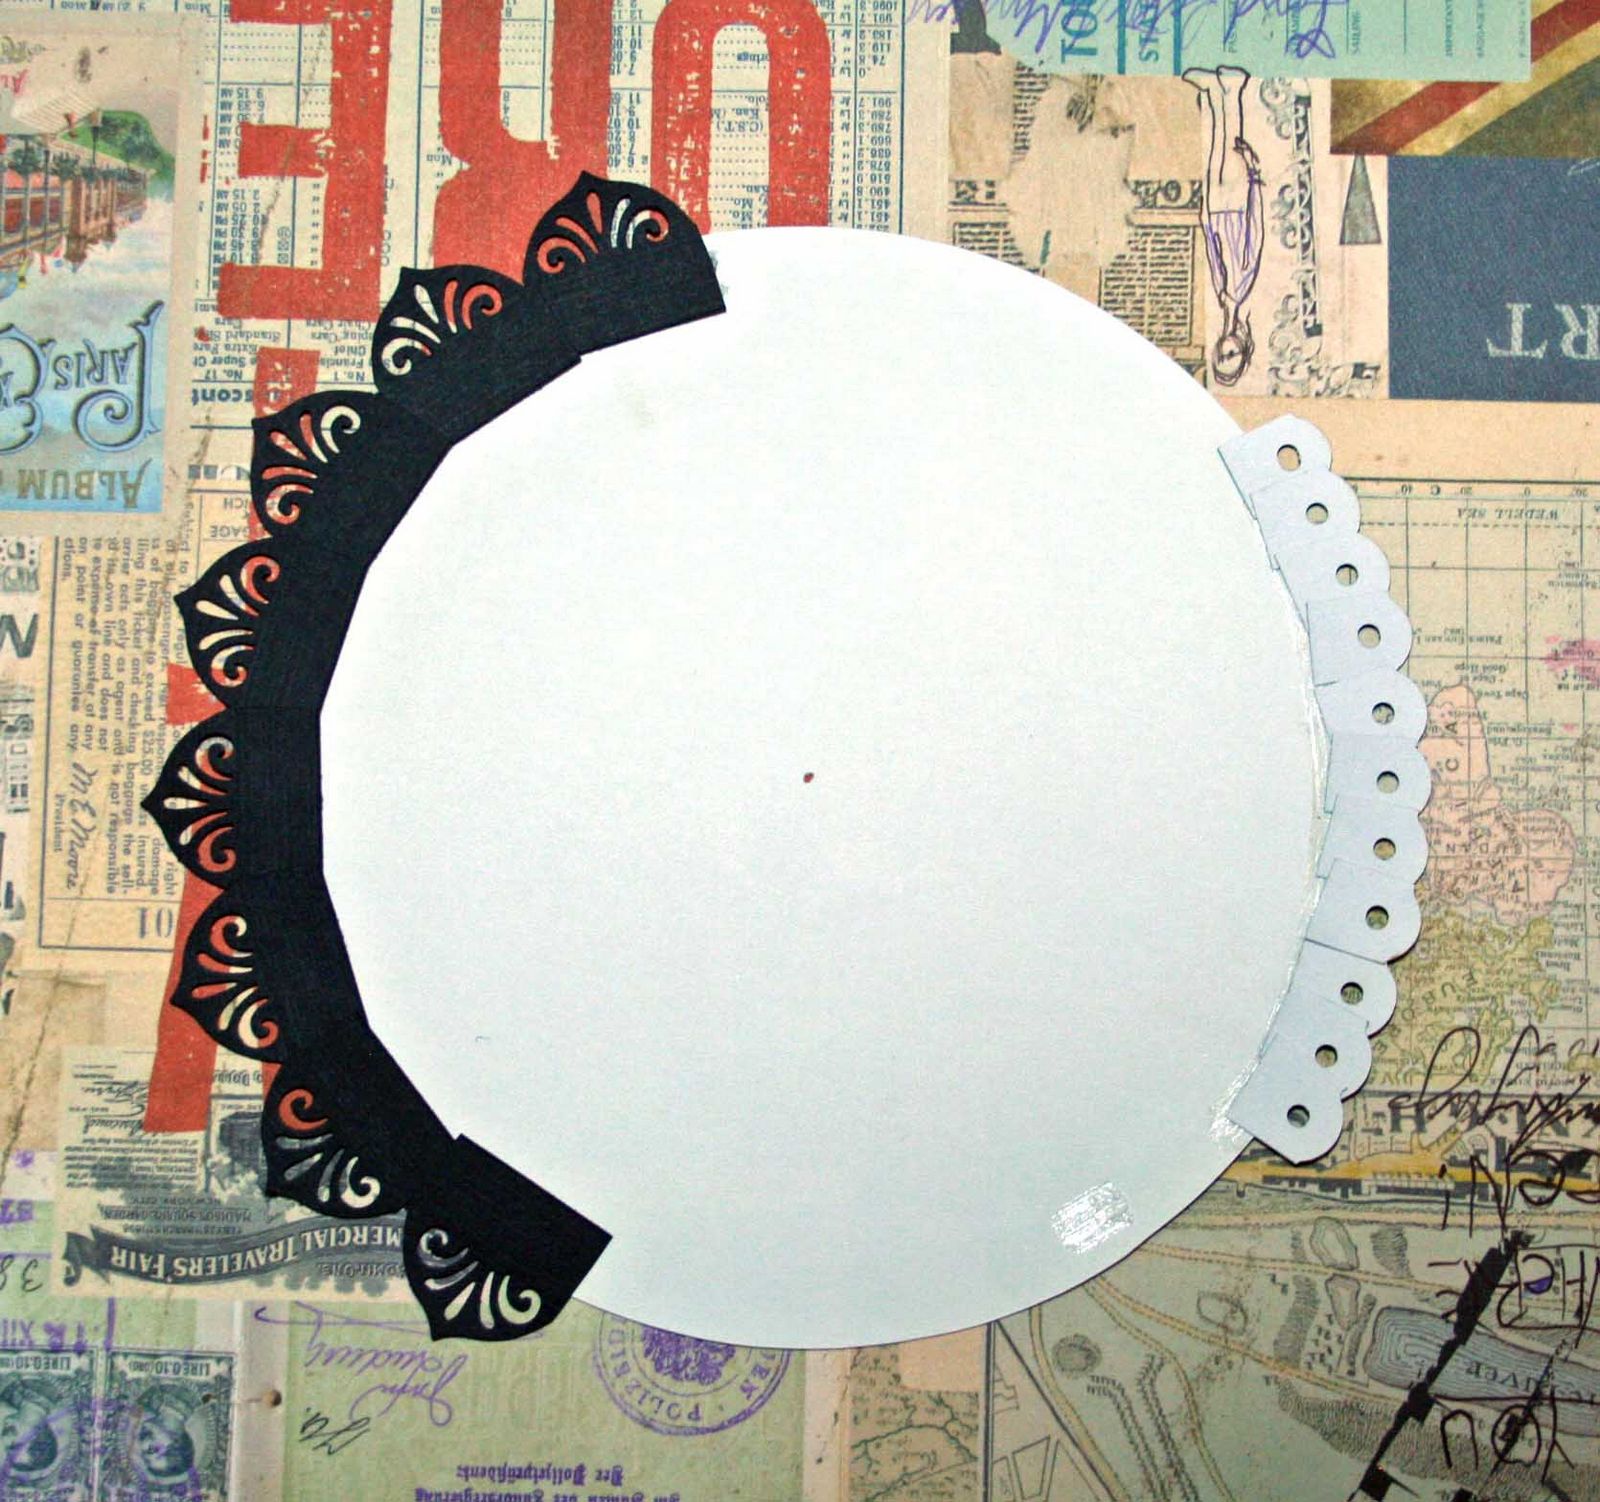
4. And that's all there is to it, easy and it looks great.

Here's a layout I did using this technique to go around the diecut on the left.


Hiii Maggi :) this is amazing ty for the tutorials.I hope you do not mind but I have tagged you in a blog award. You can see it here
ReplyDeletehttp://suchawonderfulmess.blogspot.com/2011/02/liebster-love-blog-award.html
huggs Shona
Thanks for sharing this with us Maggi, I have already used this knowledge on one of my layouts and am quite thrilled with it. :)
ReplyDeleteGreat tutorial i love it.Your scrap pages are so beautiful . I like your style and wonderful pictures.
ReplyDeletebyebye,Lean
A great idea. I too LOVE your work. Thanks for sharing! SueC
ReplyDelete